![Leadinfo_logo_RGB_Witte_tekst-3.png]](https://help.leadinfo.com/hs-fs/hubfs/Leadinfo_logo_RGB_Witte_tekst-3.png?width=135&height=28&name=Leadinfo_logo_RGB_Witte_tekst-3.png)
You might not want Leadinfo to track every page on your website. Common reasons: a login page or client portal that your own team visits constantly, a staging or test environment on the same domain, a checkout or payment page, or a one-off campaign landing page you don't want cluttering your inbox. Whatever the reason, you can exclude specific pages using a trigger in Google Tag Manager.
There are two ways to do this, depending on your situation:
- You already track your whole site and want to exclude one or more pages
- You're installing Leadinfo for the first time and only want to exclude some pages from the start
Excluding pages from an existing Leadinfo installation
Step 1: Open your Leadinfo trigger in GTM
Go to your Google Tag Manager account and select the container your website runs in. Click on "Triggers" in the left-hand menu and open the trigger that's currently linked to your Leadinfo tag. In most cases, this is the default "All Pages" trigger.
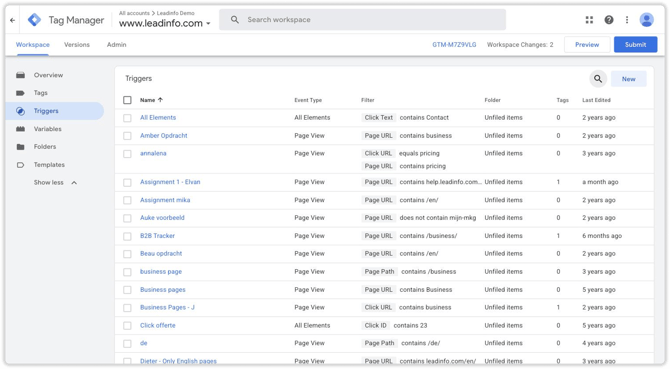
Step 2: Create a new, more specific trigger
Don't edit the "All Pages" trigger directly, since other tags may depend on it. Instead, click "New" to create a fresh trigger, and give it a clear name, for example "Leadinfo - All Pages Except Excluded".
Click on "Trigger Configuration" and choose "Page View" as the trigger type.
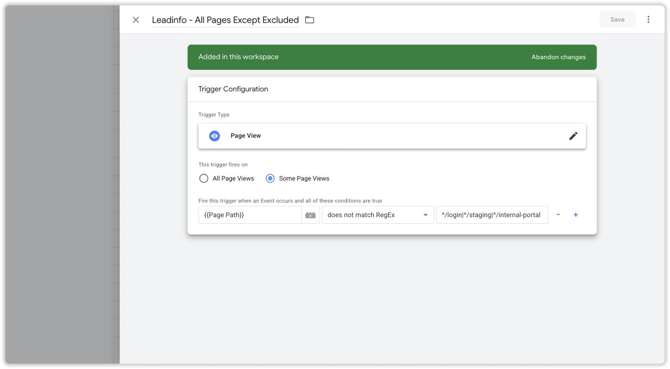
Step 3: Set the exclusion rule
Select "Some Page Views", then choose "Page Path" from the dropdown and set the condition to "Does not contain". Fill in the part of the URL you want to exclude, for example /login.
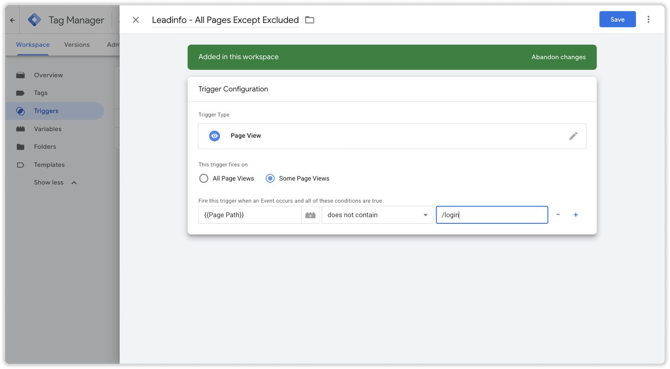
Note 📝: If you only need to exclude one page, this single condition is enough. If you need to exclude several pages at once, click the "+" beneath your first condition to add another "Page Path Does not contain" rule for each page, e.g. one for /login and one for /staging, and keep them all in this same trigger. Google Tag Manager automatically combines multiple conditions in one trigger with AND, so the trigger only fires when the page path matches none of the excluded values.
If you're excluding a longer list of pages, or the paths follow a pattern, you can combine them into a single "Page Path Does not match RegEx" condition instead, separating the paths with a pipe (|), for example: ^/login|^/staging|^/internal-portal. This does the same job as several "Does not contain" conditions, just written as one line.
Step 4: Swap the trigger on your Leadinfo tag
Go to "Tags" and open your Leadinfo tag. Click on "Triggering", remove the "All Pages" trigger, and add the new trigger you just created instead. Save the tag.
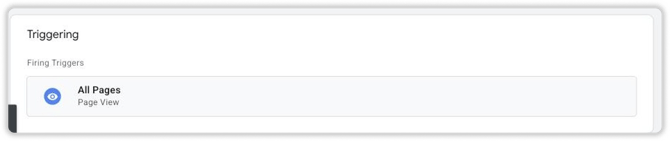
Step 5: Test before you publish
Click "Preview" in the top right corner and open your website in the preview window. Visit one of the pages you excluded and confirm the Leadinfo tag does not appear under "Tags Fired". Then visit a page you still want to track and confirm it does fire.
Step 6: Publish your changes
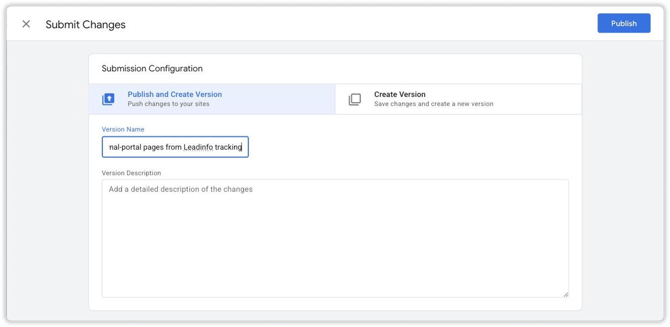
Once you're confident it works as expected, click "Submit", give the version a clear name, and click "Publish".
Excluding pages while installing Leadinfo for the first time
If you're setting up Leadinfo for the first time and already know which pages should never be tracked, you can build the exclusion straight into your setup instead of starting with "All Pages".
Step 1: Copy the tracking code
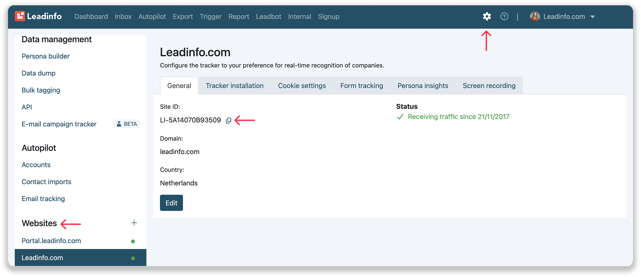
Copy the tracking code from the portal. You'll find it under "Settings".
Step 2: Create your trigger
In Google Tag Manager, go to "Triggers" and click "New". Choose "Page View" as the trigger type, select "Some Page Views", and set "Page Path" to "Does not contain".
Fill in the first path you want to exclude, then click the "+" to add another "Page Path Does not contain" condition for each additional page - keep them all in this one trigger, since Google Tag Manager combines them with AND.
If you're excluding many pages, or they follow a pattern, you can use a single "Page Path Does not match RegEx" condition instead, with the paths separated by a pipe (|), for example: ^/login|^/staging|^/internal-portal.
Step 3: Create your tag
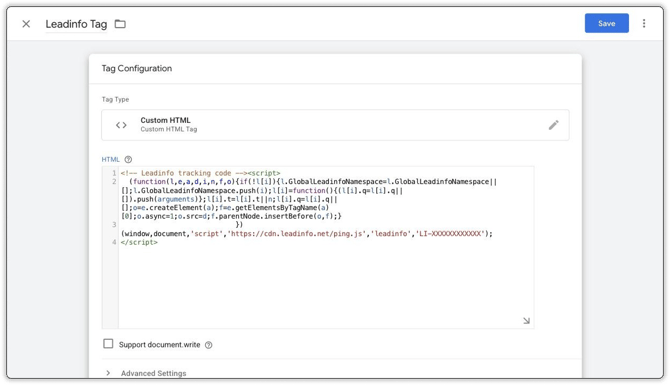
Go to "Tags", click "New", and give your tag a clear name, for example "Leadinfo Tag". Click "Tag Configuration", select "Custom HTML", and paste the code from Step 1.
Step 4: Add your trigger
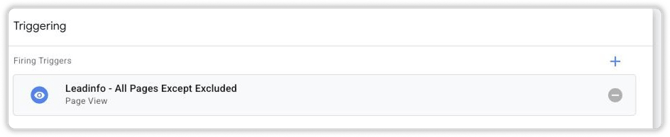
Click "Triggering" and select the trigger you created in Step 2. Save the tag.
Step 5: Publish
Click "Submit" in the top right corner, name your version, and click "Publish".
Note 📝: It's easy to mix up AND and OR logic in Google Tag Manager, so keep these two rules straight: one trigger with multiple conditions = AND. Multiple triggers on the same tag = OR.
Do you have questions about excluding pages from tracking? Contact our team via support@leadinfo.com.