![Leadinfo_logo_RGB_Witte_tekst-3.png]](https://help.leadinfo.com/hs-fs/hubfs/Leadinfo_logo_RGB_Witte_tekst-3.png?width=135&height=28&name=Leadinfo_logo_RGB_Witte_tekst-3.png)
🎨 Our Leadinfo Inbox is getting a fresh new look. Please note that some images might temporarily be outdated — thanks for your understanding!
With Leadinfo, it is possible to set up a Zapier integration. This allows you to connect to more than 3000 applications. It is possible to set up a link with almost all CRM systems, so the data from Leadinfo is synchronised with your linked app. But there are many other possibilities with the integration of Zapier- you can even send over contact information with the contact push feature.
In this article, we will discuss:
- How to connect Zapier with Leadinfo
- How to send information from Leadinto to Zapier
- What data can be sent
How do I connect Zapier with Leadinfo?
Connecting Leadinfo to Zapier is done in Zapier. Create a Leadinfo account and simply follow the steps below to get started
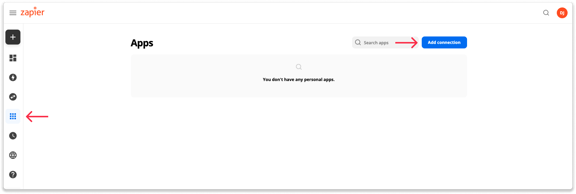
Step 1: Log into Zapier and go to "My Apps". From here, click on “Add Connection” in the top right corner.
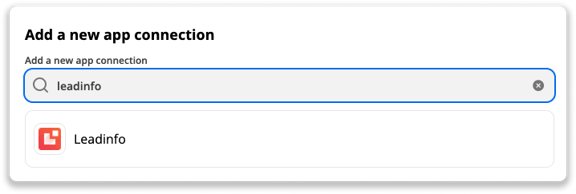
Step 2: Search for Leadinfo in the search bar.
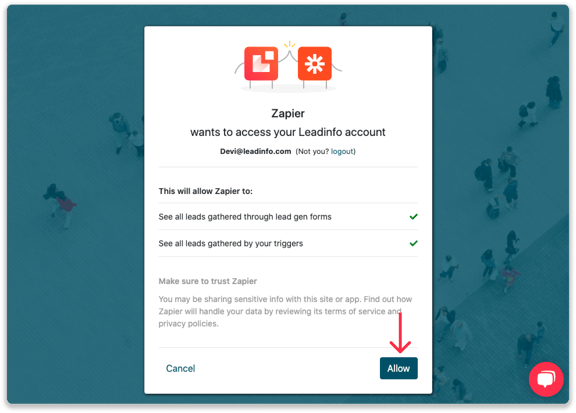
Step 3: Provide your Leadinfo credentials in the pop-up screen and click on “Allow”. Double-check if this is the right account you want to connect it to.
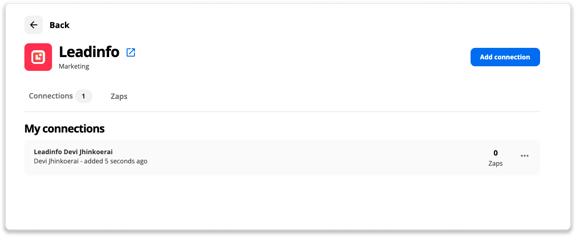
Step 4: Start using Zapier & Leadinfo. After providing your credentials, you have set up Leadinfo in your Zapier account. You can now start setting up your Zaps!
How do I send information from Leadinfo to Zapier?
You can send information to Zapier either manually, or automatically using a trigger.
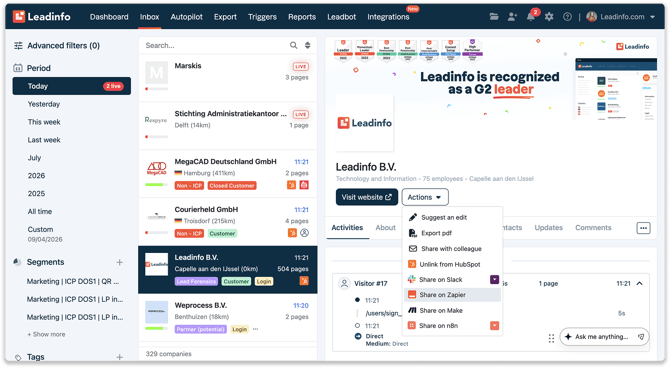
If you choose to send information manually, you can select the company, or contact in your inbox, then select 'Share on Zapier' for companies, or 'Add to Zapier' for contacts.
To share information automatically, you must also set this up in Zapier.
Within Zapier, you have the option to trigger a Zap from a specific Leadinfo trigger. For example, only when a company meets trigger X, it is forwarded to Zapier. To create this filter, follow the below steps.
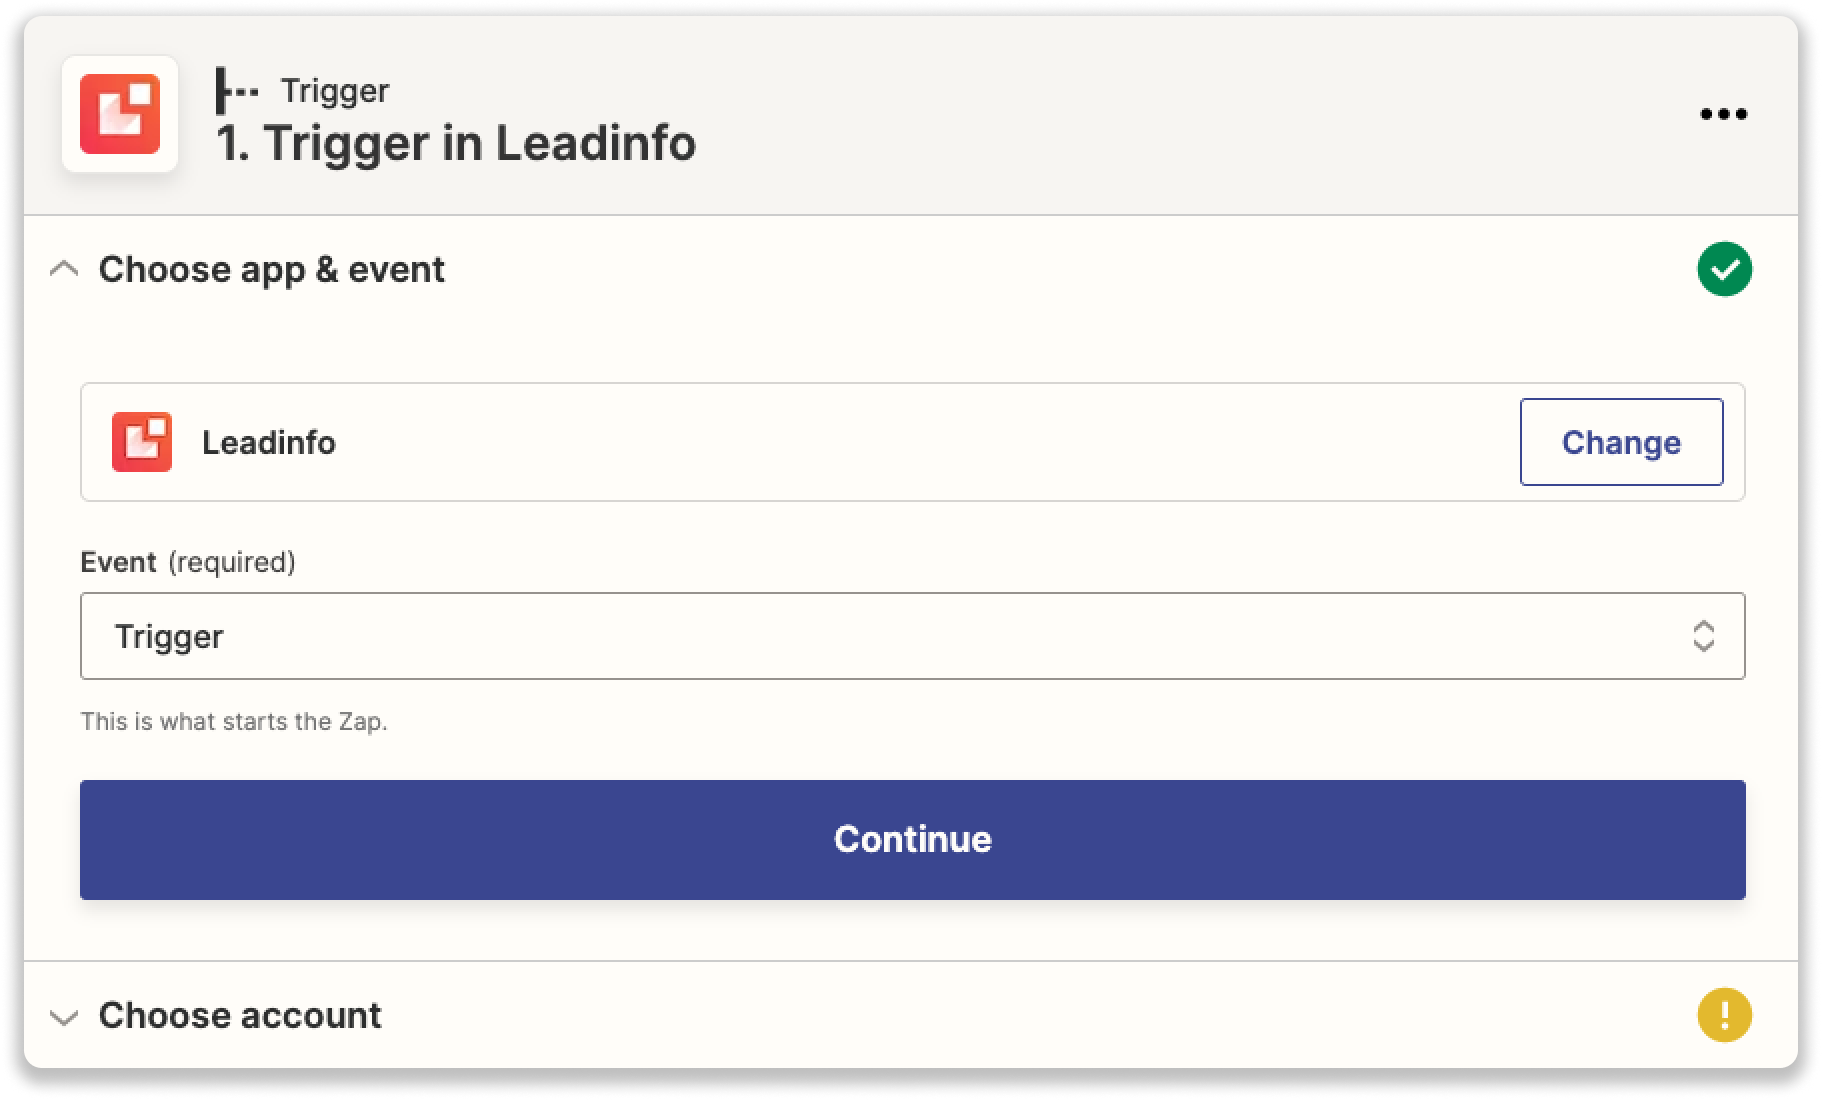
Step 1: Start building your Zap. Choose Leadinfo as the app and then select "Trigger" as the event.
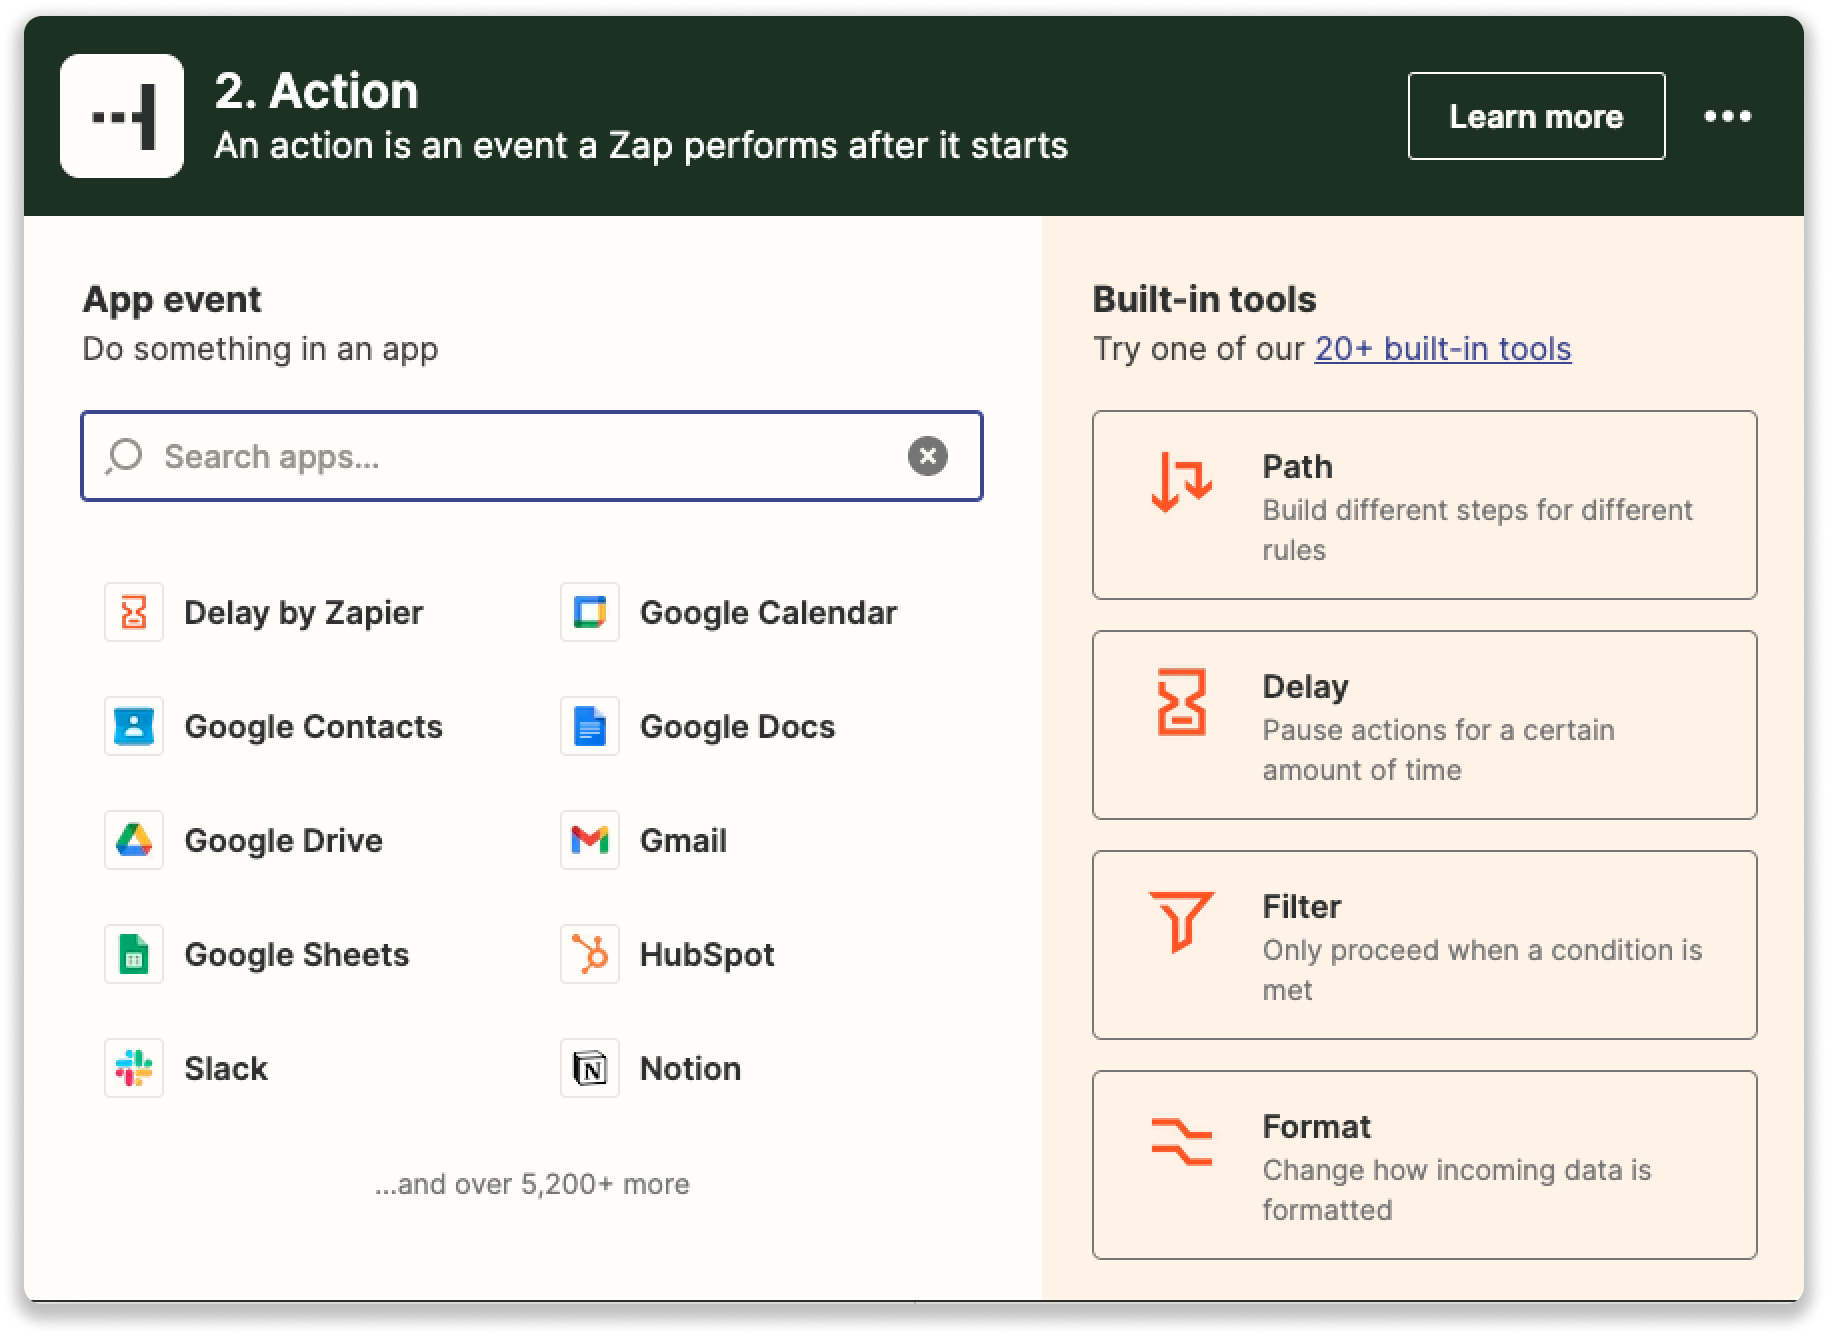
Step 2: Connect your Leadinfo account and continue the Zap. Choose "Filter" as the action to set the terms of the Zap.
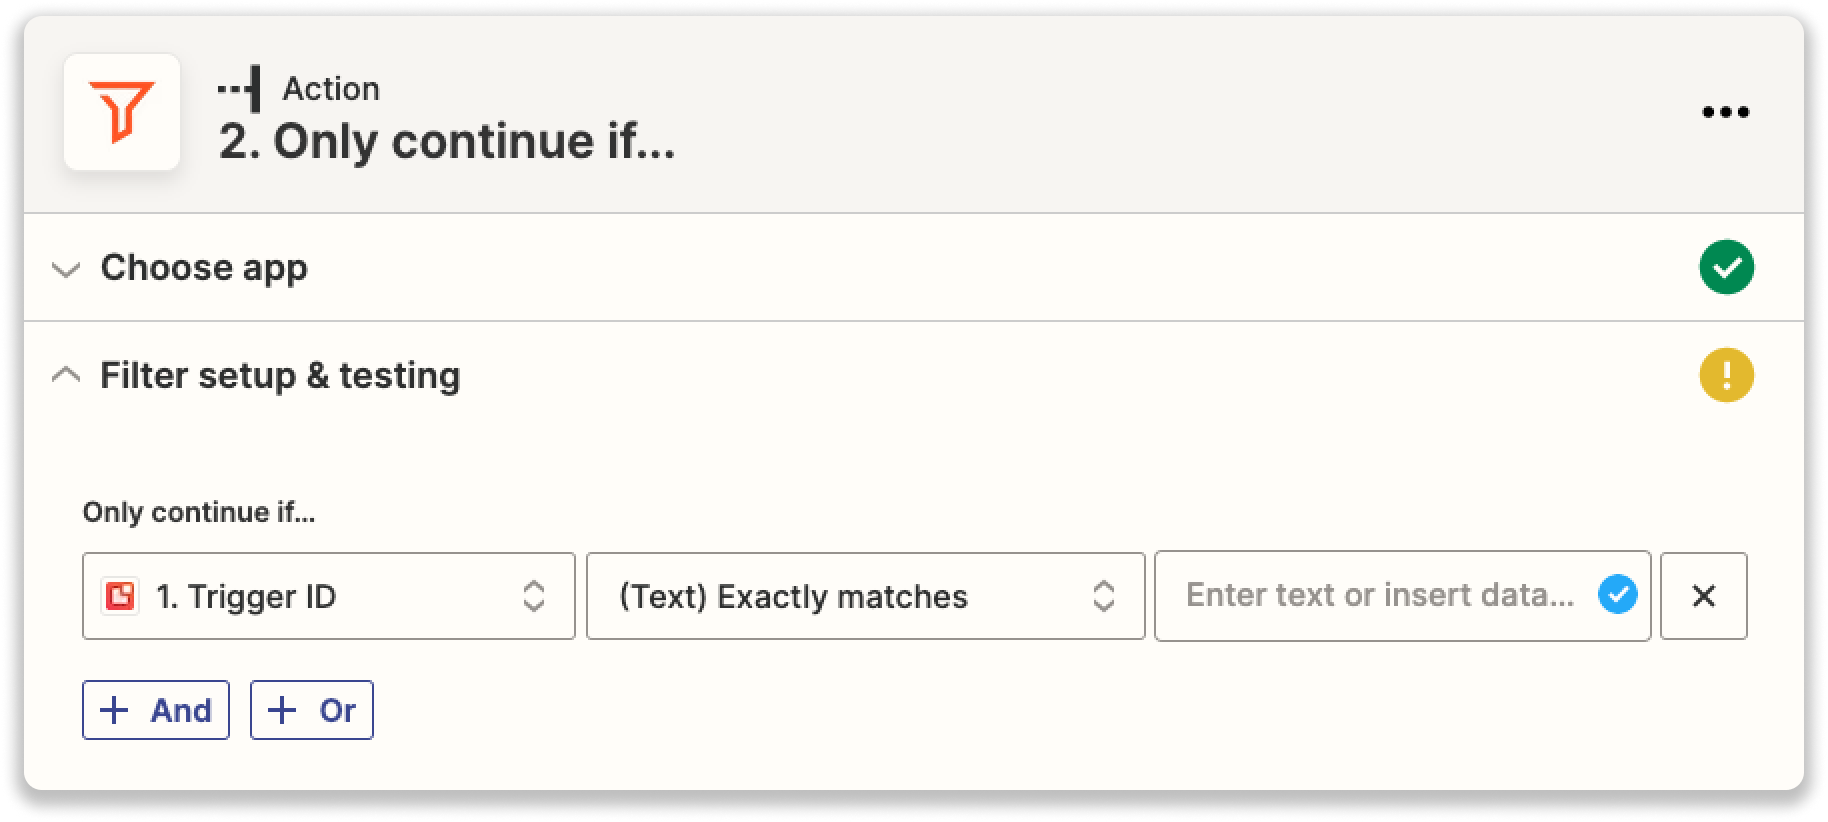
Step 3: Choose the conditions of the filter. The Zap should proceed only when "trigger ID - Exactly Matches - trigger ID". The trigger ID can be found in the URL of the trigger in the browser. This consists of the last 5 digits of the URL when you select the specific trigger in the Leadinfo portal, e.g. portal.leadinfo.com/trigger/12345.
Step 4: Complete your Zap by selecting the desired action.
Good to know 💡 To send data from a specific trigger, a paid version of Zapier is required.
What information can be sent?
-
Company information
- Company name
- Address
- Branch/Industry
- Founding date
- Company codes
- Size
- Social media
- Tags
- Visit information
- Page views
-
Contact information
- Name
- Phone number
- Job title
- Country
- Social media
- Leadbot submission
- When someone submits a Lead Bot form, the Zap receives when and where it was submitted, along with all the answers the visitor filled in.