Our CRM integrations are two-way integrations. Meaning that we do not only send over companies to your CRM, but we also retrieve data from your CRM. When you connect a company from Leadinfo to a company in your CRM, we're able to show within CRM data within the company profile in Leadinfo.
This article explains the different possibilities you can base your automation on!
Please note 📝 Not every CRM systems provides the opportunity to create a two-way integration. Check out the help article of your CRM integration to ensure you can use the features discussed in this article.
What CRM data is available?
When you connect a website visitor from Leadinfo to a company in your CRM you will see the following information:
- Deal information
- Task information
- Campaign information (only in Salesforce)
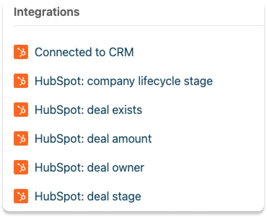
Based on this information you can create your segments, triggers, reports and/or Lead Gen Forms on the follow CRM Data:
- Is the company connected to your CRM?
- The deal stage of the company
- The deal amount
- The deal owner
- Is there a deal assigned to the company in your CRM?
How to use the data?
Now that you have access to CRM data, it's time to start using it within Leadinfo. Based on deal stages, amount or owner, you can automatically assign tags or send the lead to the correct sales rep for follow up.
The possibilities are endless. But let's talk about the frequently used automation when using CRM data.
- Automatically assign tag customer based on Deal stage
- Receive e-mail reports with lost customers visiting the website
- Get instantly notified when a big lead visits the website.
Automatically assign tag customer based on Deal stage
This automation is something we use as well. Based on the deal stage of the visitor we automatically assign their customer status as a tag. Allowing us to easily separate customers from new leads! Here's how it works.
Step 1: Head to your triggers and create a new trigger

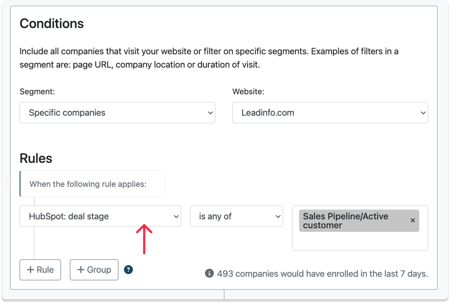
Step 2: Below Rules select the rule “Deal stage”
Step 3: In this case we want to automatically tag customer, so select the deal stage that indicates it's an active customer.
Step 4: Below "Action" select "Tag". Here you can select that the tag “Customer” needs to be assigned.
You can also remove any old tags. As you can see we remove every other customer status tag when we assign the tag "Customer".
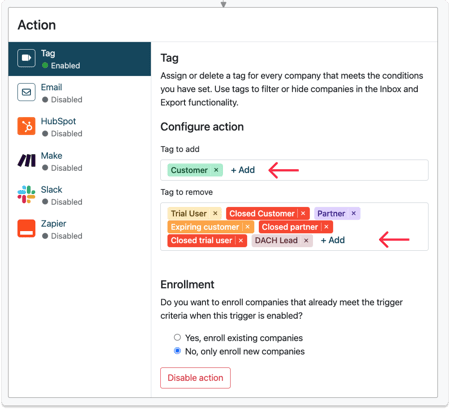
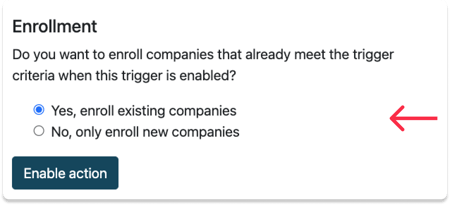
Step 5: Determine if you want to enrol the companies that already visited your website. By selecting "yes" the companies that already visited your website will also receive a tag. If you select no only the companies that visit our website after turning the trigger on will receive a tag.
Receive e-mail reports with lost customers visiting the website
Set up e-mail reports when a lost customer visits your website. These companies are easy to reach out to as you already know what person to contact. Here's how it works.
Step 1: Head to your reports and create a new report

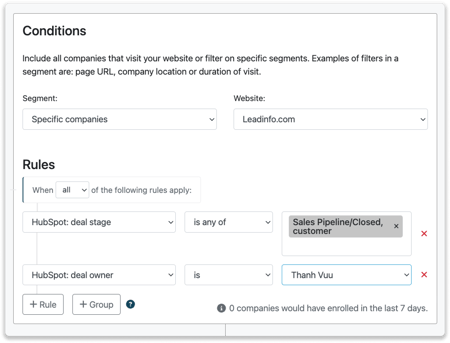
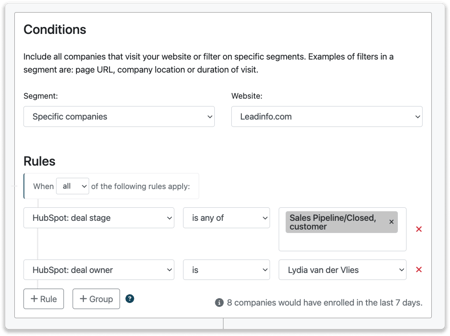
Step 2: Below rules select the rule “Deal stage” and select the stage that indicates it's lost customer.
Step 3: To distribute the leads correctly determine if you want to narrow the report down based on “Deal owner” or perhaps region.
Step 4: Set up the report settings. Add the e-mail information such as recipient, email title and description. Then determine the frequency of the report and if you wish to include an attachment.
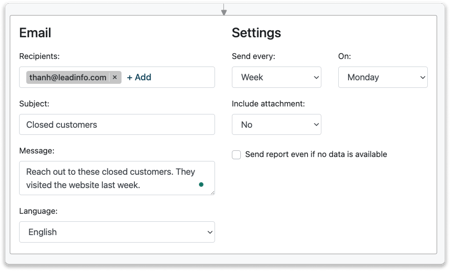
Step 5: Save your changes!
Get instantly notified when a big lead visits the website
In some cases you want to be notified immediately when a hot lead visits your website. For example, if a company with a high deal potential visits your website, you might want to act upon that information. Triggers allow you to immediately be notified of the interesting visitors. Here's how it works.
Step 1: Head to your triggers and create a new trigger
Step 2: Below Rules select the rules you find important. For example, deal amount.
Step 3: To distribute the leads correctly determine if you want to narrow the report down based on “Deal owner” or perhaps region.
Step 4: Below action select “email” and select who should receive the notification e-mail.
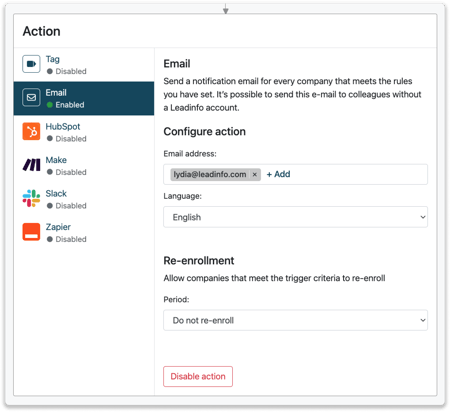
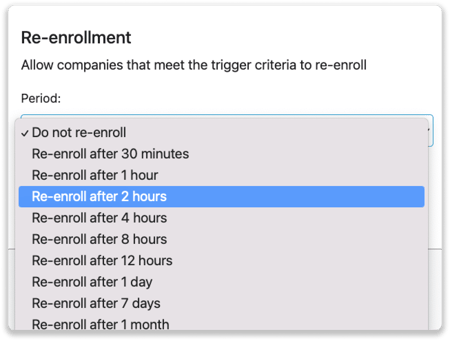
Step 5: Determine if you want to re-enroll companies. By re-enrolling companies you will continue to receive notification emails from this visitor once thy visit the website again.
Step 6: Save your trigger!