Binnen Autopilot kun je nu automatisch labels toewijzen aan bedrijven op basis van specifieke acties. Deze functie stelt je in staat om je leads beter te organiseren en je workflow te stroomlijnen door gelabelde bedrijven te verbinden met je CRM of andere tools.
Waarom is labelen nuttig?
Labelen in Autopilot helpt je om je leads beter te organiseren door extra context toe te voegen aan elk bedrijf. Dit maakt je CRM overzichtelijker en efficiënter.
Hier zijn een paar voorbeelden wanneer labelen handig kan zijn:
LinkedIn Connectie Geaccepteerd: Wanneer een bedrijf door je Autopilot-flow gaat en een LinkedIn-connectieverzoek accepteert, kun je ze automatisch labelen met “LinkedIn connectie geaccepteerd”.
Follow-up Vereist: Nadat een bedrijf alle stappen in je campagne heeft doorlopen, kun je ze labelen met “Te Doen / Bellen”, zodat je weet dat je ze moet opvolgen met een telefoongesprek.
Deze labels kunnen vervolgens worden gebruikt in je triggers om deze leads automatisch over te zetten naar je CRM, inclusief HubSpot en andere platforms, zodat je je follow-up activiteiten ku
Hoe stel je labelen in in Autopilot
Stap 1: Ga naar de Autopilot functionaliteit in Leadinfo.

Stap 2: Kies een bestaande campagne of maak een nieuwe campagne aan.

Stap 3: Voeg als nieuwe actie “Label Lead/Bedrijf” toe.

Stap 4: Kies de juiste labelnaam.

Stap 5: Sla je campagne op en activeer deze.
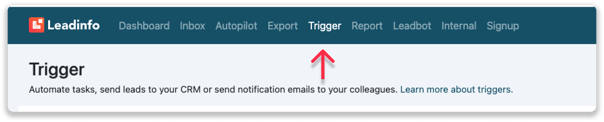
Hoe stel je een trigger in op basis van labels
Stap 1: Navigeer naar het Triggers functionaliteit in Leadinfo.
Stap 2: Klik op “Nieuwe Trigger”.

Stap 3: Kies onder Segment “Specifieke Bedrijven”.
Stap 4: Voeg de criterium “Labels” toe en selecteer het label dat je hebt gebruikt in je Autopilot-campagne.
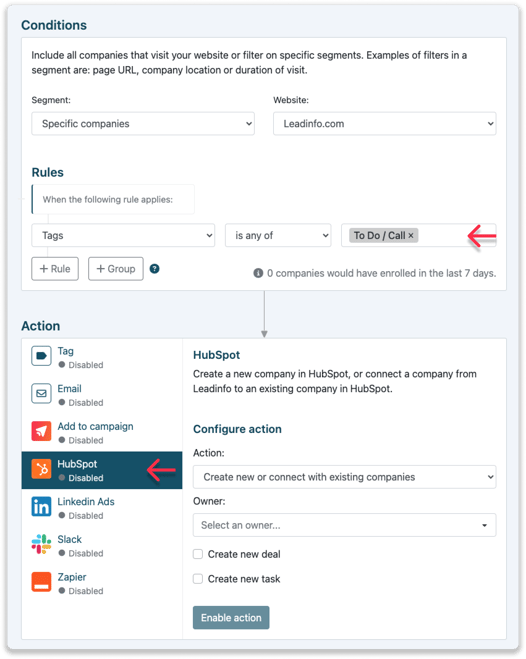
Stap 5: Kies in het Actie-gedeelte de gewenste actie. Bijvoorbeeld, stuur alle bedrijven met het label naar je HubSpot CRM.
Door labelen en triggers te combineren, kun je je leadbeheer volledig automatiseren en optimaliseren, zodat de juiste follow-ups op het juiste moment plaatsvinden.