In Leadinfo, tags help you group or categorize website visitors based on their behavior or characteristics, but they do more than just organize your leads. They can also be used to trigger automations, like sending a lead to your CRM or notifying your team.
This gives you the flexibility to decide how and when you want to take action on a lead.
Why use tags for triggers?
Tags give you manual control while still allowing automated workflows. For example:
-
You might want to manually assign a tag after a sales call to indicate a qualified lead.
-
Then, once the tag is applied, Leadinfo can automatically send that lead to your CRM or alert your team, saving time and ensuring nothing falls through the cracks.
This setup allows you to review and qualify leads first, before starting any automations.
How to trigger an action using a tag
You can trigger an automation every time a specific tag is added to a company. Here’s how to set that up:
Step 1: Go to the Triggers section in your Leadinfo inbox.
Step 2: Click “New trigger” to create a new automation.
Step 3: Under conditions, choose Tag is one of, Then, select the tag(s) that should start the automation.

Step 4: Choose the action you want to happen, such as:
- Send the company to your CRM (e.g. HubSpot, Pipedrive)
- Send a notification to your team

When using tags in triggers, keep in mind that Leadinfo doesn’t guarantee the order of execution for multiple triggers.
Example:
-
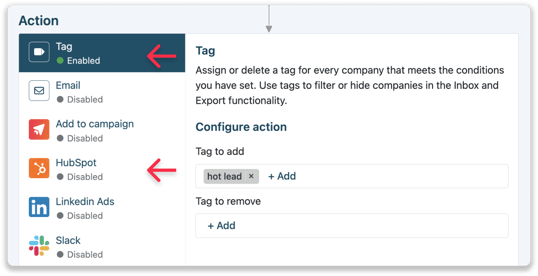
Trigger 1: Add the tag “Hot Lead”
-
Trigger 2: Send companies with the tag “Hot Lead” to HubSpot
If Trigger 2 runs before Trigger 1 has added the label, the action won’t fire immediately. The CRM push will only happen later, for example, during the next visit.
To make sure actions like sending to your CRM happen immediately, it’s best to use the same conditions in your trigger that originally added the tag.
That way, the trigger fires in real time, without waiting for a next visit for the tag to be assigned first. Let’s say you want to tag a company as “Hot lead” when they visit your pricing page.
Instead of using a tag-based trigger, create a trigger like this:
Step 1: Condition: Company visited the pricing page.

Step 2: Action: Send to CRM and Apply tag “Hot lead”.
This ensures that both the tagging and the CRM action happen instantly, during the same visit.