Leadinfo has a integration with Make, an automation tool. Allowing you to connect Leadinfo to over than 1000 applications. Set up a link with almost all CRM and communication systems and synchronise Leadinfo data to the tools you love to use.
How to connect Leadinfo to Make
Follow the steps below to connect your Leadinfo environment to Make. To do so, you need to log into your Make account first.
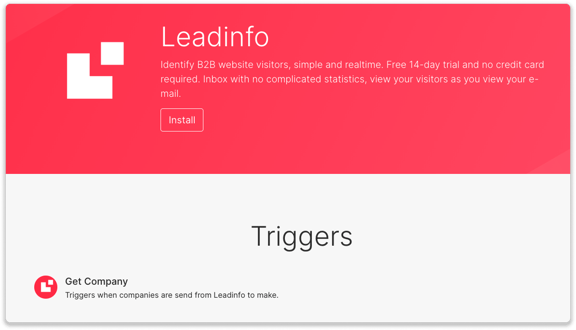
Step 1: Log into Make with your Make credentials and open this link.
Step 2: The link leads you to our application page. Press "Install" to download the Leadinfo application for Make.
Step 3: Select the organization that you want to connect to Leadinfo and press "Install".

Leadinfo is now added to your Make account. You are ready to create scenarios. Read this article to learn more about how you can create different scenarios.
Please note: To install apps within Make you need to have the Admin or the App Developer role within Make.
How do I send data to Make?
After the connections is made, we will not send over data. You first need to send company information over to Zapier. You can do this either manually or automatically. Follow the below steps to send leads to Make.
Manually send companies to Make
No data is shared with Make until you share a company. You can do this from the company profile in the inbox.
Step 1: Go to the company profile you want to share.
Step 2: Click on the button "Share on Make" in the top right corner.

Automatically send companies to Make
We will only send data to Make when you have connected a company. You can either connect a company manually or automatically. Follow the below steps to automatically send leads to Make.
Step 1: Think about what companies you want to send to Make. You can use these questions to get a clear view on what companies are interesting for you.
- What company characteristics does an interesting company have?
Do you focus on specific branches or specific sizes? - What kind of behaviour do they need to show?
Think about the number of pages, or what pages an interesting company needs to visit.
Step 2: Based on the questions in step 1 you can start setting up your trigger. Navigate to "Triggers" and create a new trigger.
Step 3: Determine the rules a company needs to meet in order to be sent over. In the example below we only want to send over companies from the UK, with more than 5 employees and who have visited our pricing page.
-png.png?width=576&name=Screenshot%202021-12-02%20at%2012-02-27-png%201%20(1)-png.png)
Step 4: Under "Action" select "Make" and don't forget to save the trigger by switching the toggle in the top right corner and click “Save”.
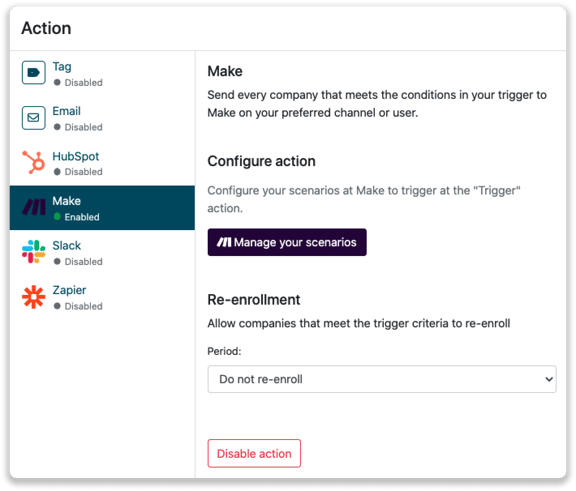
Every company that visits your website and meet these rules will be shared to Make!
Continue working in Make
Sending over company data is the start of your scenario. Afterwards you need to determine what you'd like to to with the information. Click here to learn more about how to make the scenarios in Make.