The inbox is the place where all your data is shown. Using tags helps to create clear overviews of different types of companies based on their characteristics of behaviour on your website.
This article describes how to:
Create tags
You can find a few of our most used tags in your inbox already, but you can easily add more by following the steps below:
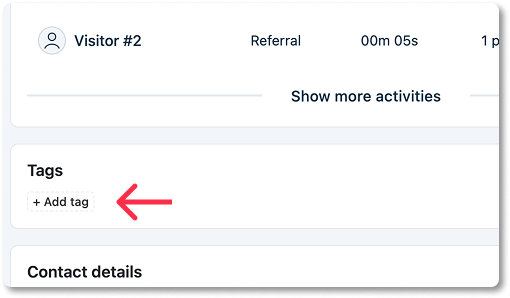
Step 1: Simply scroll down and click on “+Add Tag”.
![]()
Step 2: Give your tag a name, select the colour of the tag and click on “add”.
The new tag is added to your list and ready to be assigned to a lead.

Assign tags
When you've created the tags you need, you can start assigning them to a company.
Let's say you want to tag your leads with the Tag “Interesting” because they showed interesting behaviour. You can assign this tag manually or automatically. Here's how:
Tag companies manually
Simply go to the company profile of the company you want to tag and select "+Add tag".
You can also add a new tag from within the company profile. Enter the name of the tag and click on “Add”.
Tag companies automatically
Save time and let Leadinfo automatically tag the companies for you. Using our trigger functionality, you can automatically assign tags based on the rules you provide. Let see how it works.
Step 1: First create your tag. You can create a tag from your inbox, as mentioned above.
Step 2: Navigate to triggers and give your trigger a name.
Step 3: Set up the rules your lead needs to meet to receive a tag. These rules can be based on the characteristics of a company or on the behaviour they showed on the website.
In this example, we want to automatically assign the tag “Interesting Leads” when a company from Germany visits the website and visits more than 2 pages.

Check out this article to find out how to set up your trigger based on your own criteria!
Step 4: Select “Assign tag” under Action and select the tag you want to assign.

Step 5: Don't forget to save the trigger by clicking “Save” in the bottom left corner.
Now, when a company visits your website and meets the rules you've set up, it will receive a tag.
Manage tags
Easily change the colour, modify the name or delete tags from your inbox. Simply hover over the tag and click on the 3 dots. From here you can adjust your tag.
Leadinfo Tip💡 You can also hide the tag in your inbox. Companies who are assigned said tag will not be shown in your inbox! Click here to learn more about hiding companies in the inbox.