Automatically assign tags to interesting companies, send them straight to your CRM or send a notification email to your colleagues. It is all possible with triggers. Get started today and let Leadinfo qualify your leads, so you can focus on the follow-up! 🚀
Please note: The number of triggers available depends on your subscription package (Starter: 3, Scale: 10, Pro: unlimited). If you need more triggers than your current package allows, upgrade your account in the Leadinfo portal.
What is a trigger?
Triggers help you to automate Leadinfo. With triggers, you are able to automatically qualify your leads. Allowing you to focus on more important matters. A trigger consists out of two elements:
- Rules – that your website visitor need to meet
- Action – that will be executed when your visitor meets these rules.
These rules are based on the characteristics of a company and on the behaviour that they showed on your website. Before you start setting up triggers, we recommend brainstorming on what you'd like to do. Think about:
- What company characteristics does an interesting company have?
Do you focus on specific industries or specific sizes? - What kind of behaviour do they need to show?
Think about the number of pages, or what pages an interesting company needs to visit. - What action you'd like to execute?
Would you like to tag interesting companies or would like to send the companies to your CRM?
Based on the above, you can start setting up your triggers!
Set up your first trigger
Follow the steps below to set up your first triggers!
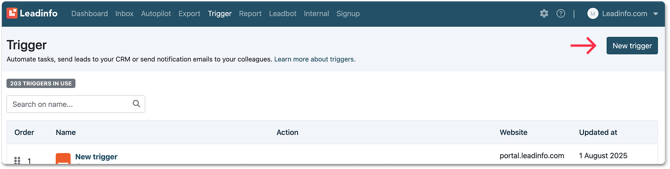
Step 1: Navigate in the portal to "Trigger". Here you will find an overview of all the triggers you already created. Click in top right corner on "New trigger".
Step 2: Give your trigger a unique name and select the correct website you want the trigger to fire on. When you have multiple trackers for different websites, you will have to make sure that the correct website is selected for the trigger. You can see below how to choose the correct website for a new trigger.

Step 3: Determine the rules your trigger has to meet. When a lead matches the rules you have set for the trigger, it will fire, and an action will be executed.
However, you have to determine the requirements your leads need to meet. It is possible to set multiple rules for one trigger so that you can have even more specific actions performed for specific leads.
Step 4: Add an Action for the Trigger after you determined the rules. In this step, you determine what should happen when a lead meets the rules you have set up in step 2. You choose from these actions:
- Tag - Assign or delete multiple tags
- Email - Send a notification e-mail to yourself or a colleague - you can customise the emails with a subject line & description to add more context
- CRM - Send the website visitors to your CRM
- Autopilot - What companies should be included in your autopilot campaign
- LinkedIn Audience - Automatically push companies through to Campaign Manager
You can only send website visitors to your CRM system when you have installed the integration.
Please note: You'll need to enable at least one action before you can save the trigger!
Step 5: Make sure that the trigger is enabled. At the bottom of the page, you can switch the toggle to enable and save your trigger.
How to copy a trigger
After you have made your first trigger, you can easily create new ones. The button in the overview creates a new trigger in just one click. Change the rules or actions to meet your requirements, and you have the second trigger up and running immediately.
Duplicate as a trigger
Step 1: Navigate to the trigger that you'd like to duplicate and select "Actions".
Step 2: Press "Duplicate as trigger".

Step 3: A new trigger is added. This can be found at the top of the overview.
Duplicate as a report
Step 1: Navigate to the trigger which you'd like to duplicate and select "Actions".
Step 2: Press "Duplicate as report".
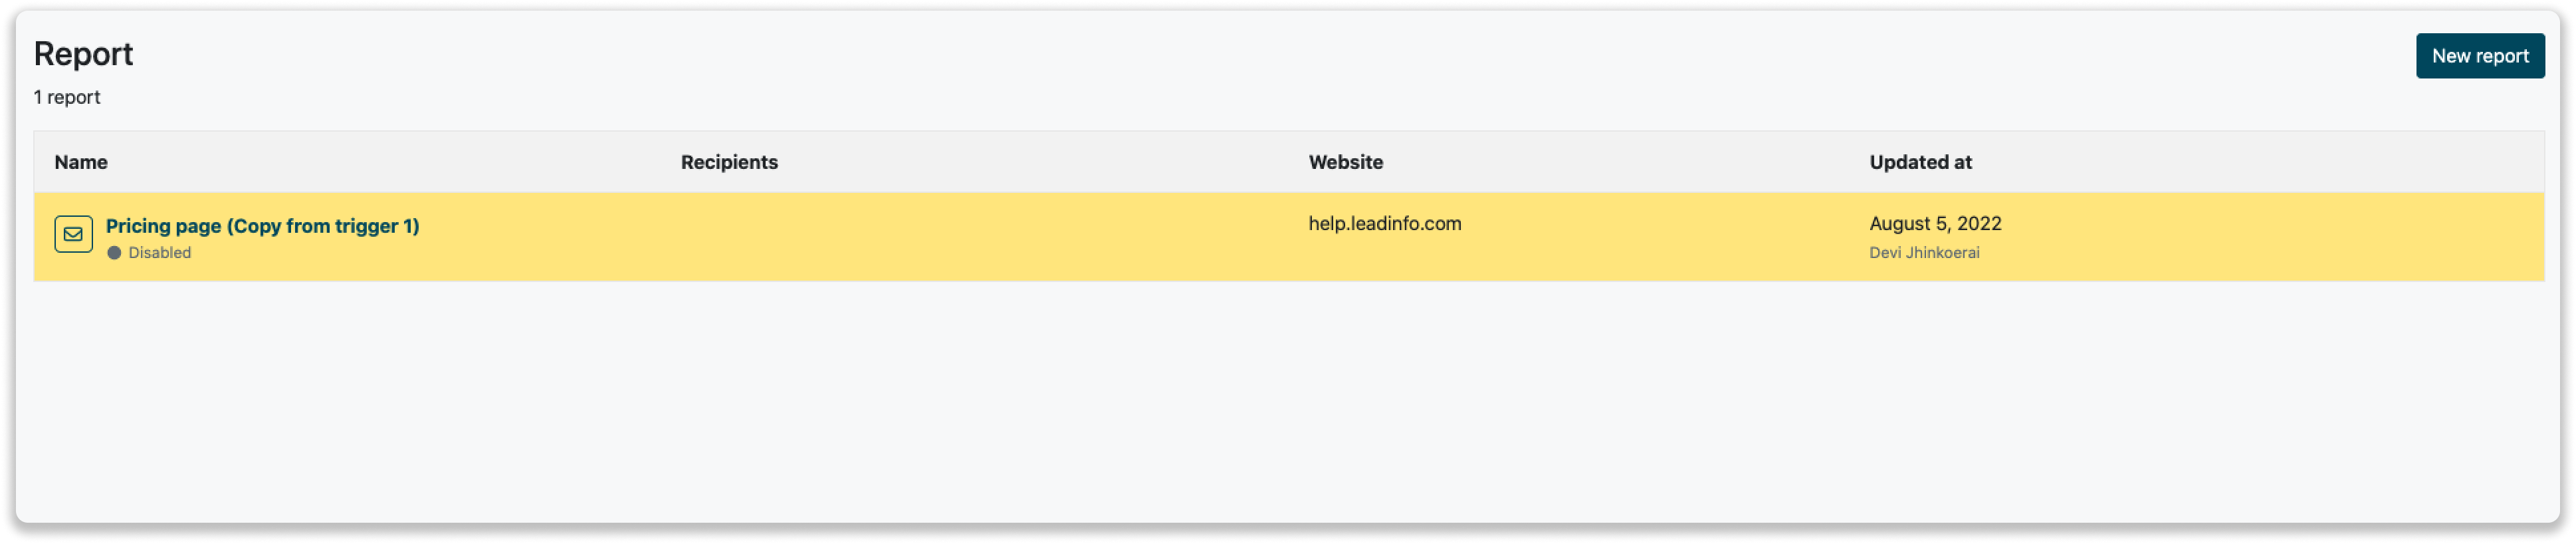
Step 3: A new report is added. You are automatically redirected to the overview of your reports.
Different Rules
You can add different rules to a trigger. Most of the rules are easy to understand. Below, a few of the most important rules are explained. Check out this article for the most used triggers.
URL of current session
With this rule the trigger will go off when leads visit a certain URL in their current session. You can use this rule, for example, to attach the tag ‘Interesting’ to a lead when they visited your pricing page.
Referrer in current session
When you use this rule, your trigger will go off when a lead has a certain referrer. You can use this rule to structure your inbox by assigning the lead the tag ‘LinkedIn’ when they come to your website through LinkedIn. By doing so you will immediately see which companies came from LinkedIn.
Duration on URL in current sessions
With this rule the trigger will go off when a lead spends a certain amount of time on a specific page of your website during their current session. This rule enables you to determine if the lead that visits a certain page is really interested.
Branch
Is your target group active in a certain type of branch? Make sure that you use the rule branch or SIC code. The trigger will go off when a Lead from a certain industry/branch visits your page. You then assign the label ‘Interesting’ to the lead. By doing so you can filter on interesting companies when you create an export.