By using field mapping you can indicate which fields Leadinfo sends and where they are placed in the CRM. This way you automatically send the relevant information from your website visitors, which gives your colleagues an instant insight into the Leadinfo data.
In this article, we'll discuss:
Benefits of field mapping
🎨 Relevant information directly added to your CRM
✏️ Avoid the hustle of manually adding data
How does it work?
Before you can share the information, you need to set up the integration with Leadinfo. How to set up your desired CRM integration, can be found here.
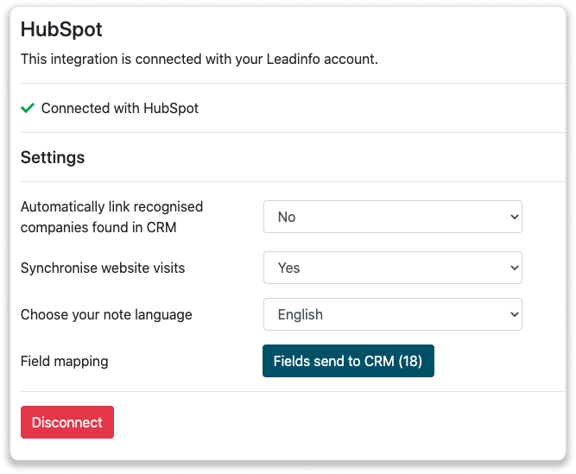
In the settings of the portal, navigate to the appropriate CRM system. Once the link is made, you can define the fields. To do this, click on "Fields sent to CRM". Now you can view all fields and add new ones.
Adding fields
When you connect to a new company we create a new company profile and send future website visits as notes within the company profile. In addition to the standard fields created by Leadinfo, you can add fields yourself.
Step 1: Select op "Fields send to CRM".

Step 2: Select which Leadinfo field you want to link with the field within your software.
Afterwards, you can define the properties of this field
-
- Overwrite existing data
With this property, Leadinfo fills the information within the field, regardless of whether information was already in the system. - Mandatory for export
When you check this option, a new company is only created if this field is known in Leadinfo.
- Overwrite existing data

Step 3: At the top right you can "Save" the fields. From now on, the supplied information will be forwarded to the correct fields in your CRM. If you want to know how to link a company, click here.
Good to know 📝 Only data within the company profile will be forwarded to your CRM system.
Required Fields
When setting up a field mapping between Leadinfo and your CRM, it's important to be aware of any required fields. These are fields that your CRM demands to be filled in before data (such as a company, or deal) can be created or updated.
To avoid issues caused by required fields:
-
- Add Input for Required Fields in Leadinfo Field Mapping
In your Leadinfo field mapping settings, make sure you're providing values for all required fields. This can be done by mapping Leadinfo data to the corresponding CRM fields, ensuring each required field is filled. - Make Fields Optional in Your CRM
If you're unable to provide data for a required field through Leadinfo, consider adjusting the settings in your CRM to make that field optional (if your CRM allows it). This gives more flexibility during integration.
- Add Input for Required Fields in Leadinfo Field Mapping
Most used field mapping fields
Field mapping allows you to enrich your website visitor data. Certain fields are frequently used to enhance the understanding of visitors. Below, we highlight some of the most commonly used field mapping fields:
Link to Inbox
The Link to Inbox field allows you to easily navigate to the Leadinfo inbox of a specific website visitor. By clicking this link, you can quickly access detailed insights about the visitor, such as:
-
- Their browsing behavior.
- Any associated Leadinfo contacts.
Latest Visit
The Latest Visit field captures the most recent time a visitor interacted with your website.
-
- It provides real-time insights into active visitors.
- Enables prioritization of leads who have shown recent interest.
Using this field, you can quickly identify when a visitor was last engaged, helping you focus on those most likely to convert or focus on the last shown interest.
Source
With the Source = Leadinfo field, you can:
-
- Easily identify where your leads are coming from.
- Create filters based on specific sources to group leads by origin.
By organizing leads in this way, you can gain a clear overview of your lead generation efforts.