Start tracking the companies that visited your website today! There are two options to install the Leadinfo tracking code on your Magento website.
We recommend installing Leadinfo through Google Tag Manager if you've already installed this on your website. If you are not using Google Tag Manager, you can install the tracking code by adding Leadinfo to the head tag of your website.
Installing Leadinfo on Magento 2
Step 1: Copy the Leadinfo tracking code from the portal. You can find the tracking code in the pop-up on your screen, or if you've already been using Leadinfo, navigate to settings and click on the website under “Websites". You can then see the tracking code under the "General" tab.
![]()
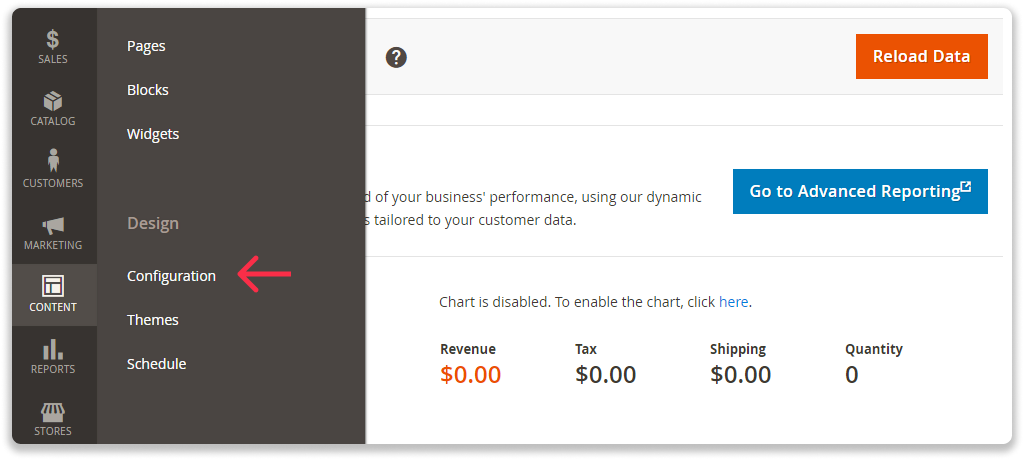
Step 2: Log into your Admin Panel of Magento and navigate to "Configuration" under "Content"
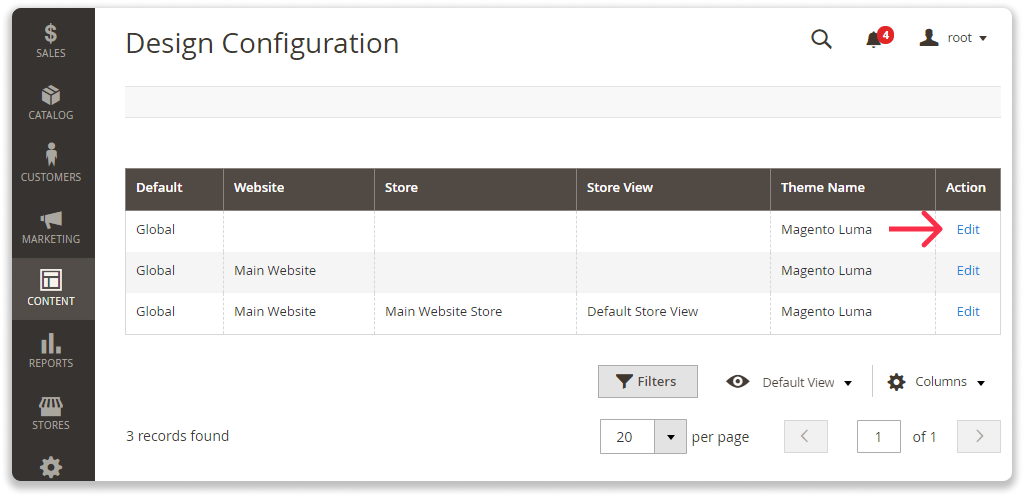
Step 3: Select the store view you'd like to track and in the "Action" columns, select "Edit".
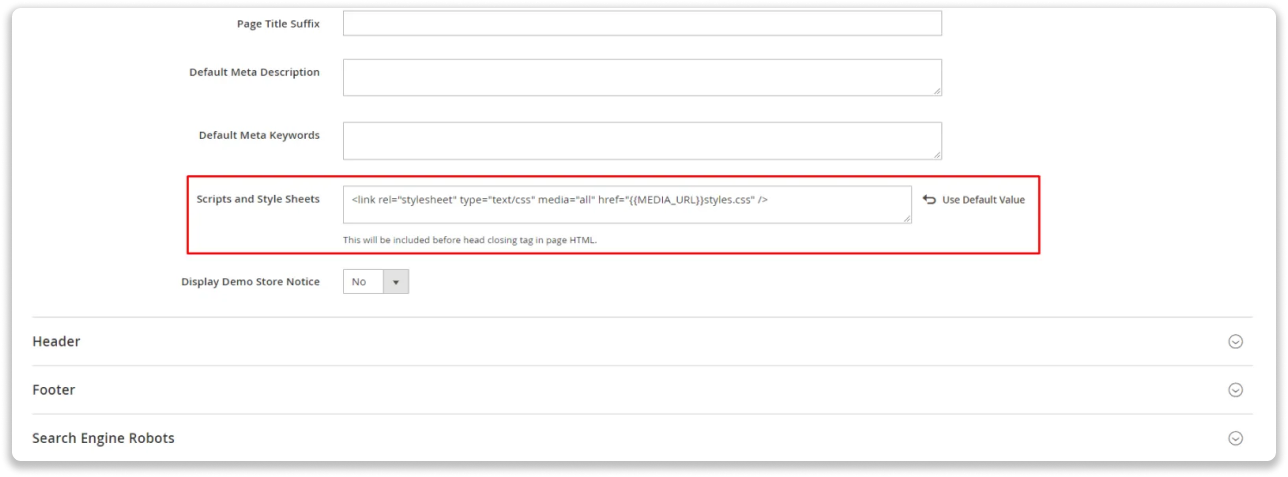
Step 4: On the “Other Settings” tab, expand the HTML Head section and add Leadinfo trackingcode to "Scripts and Style Sheets" field.
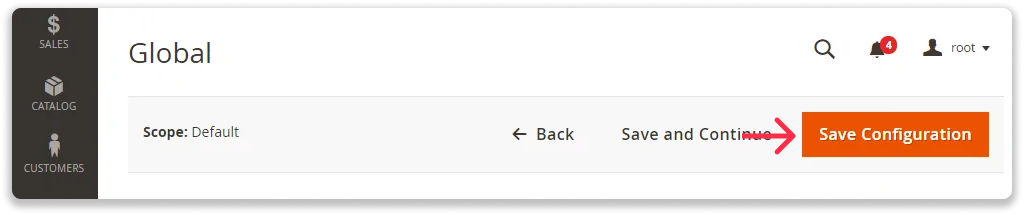
Step 5: Do not forget to save the changes by selecting "Save Configuration".
The tracking code is immediately live on your website. Allowing you to start recognising the companies that visited your website!
As a new Leadinfo user, you will gain access to the rest of the portal when we have registered the first company visit on your website.