Microsoft Teams integration
Easily connect Leadinfo to your Microsoft Teams environment
Please note: Microsoft is currently facing issues with the latest Microsoft Teams version, affecting the integration of apps like Leadinfo. If you're on the latest version, switch to the older one to set up Leadinfo in Teams. After setup, you can revert to the latest Teams version. In addition, the Microsoft Teams integration is currently only working if you have 2-factor authentication within Leadinfo turned off.
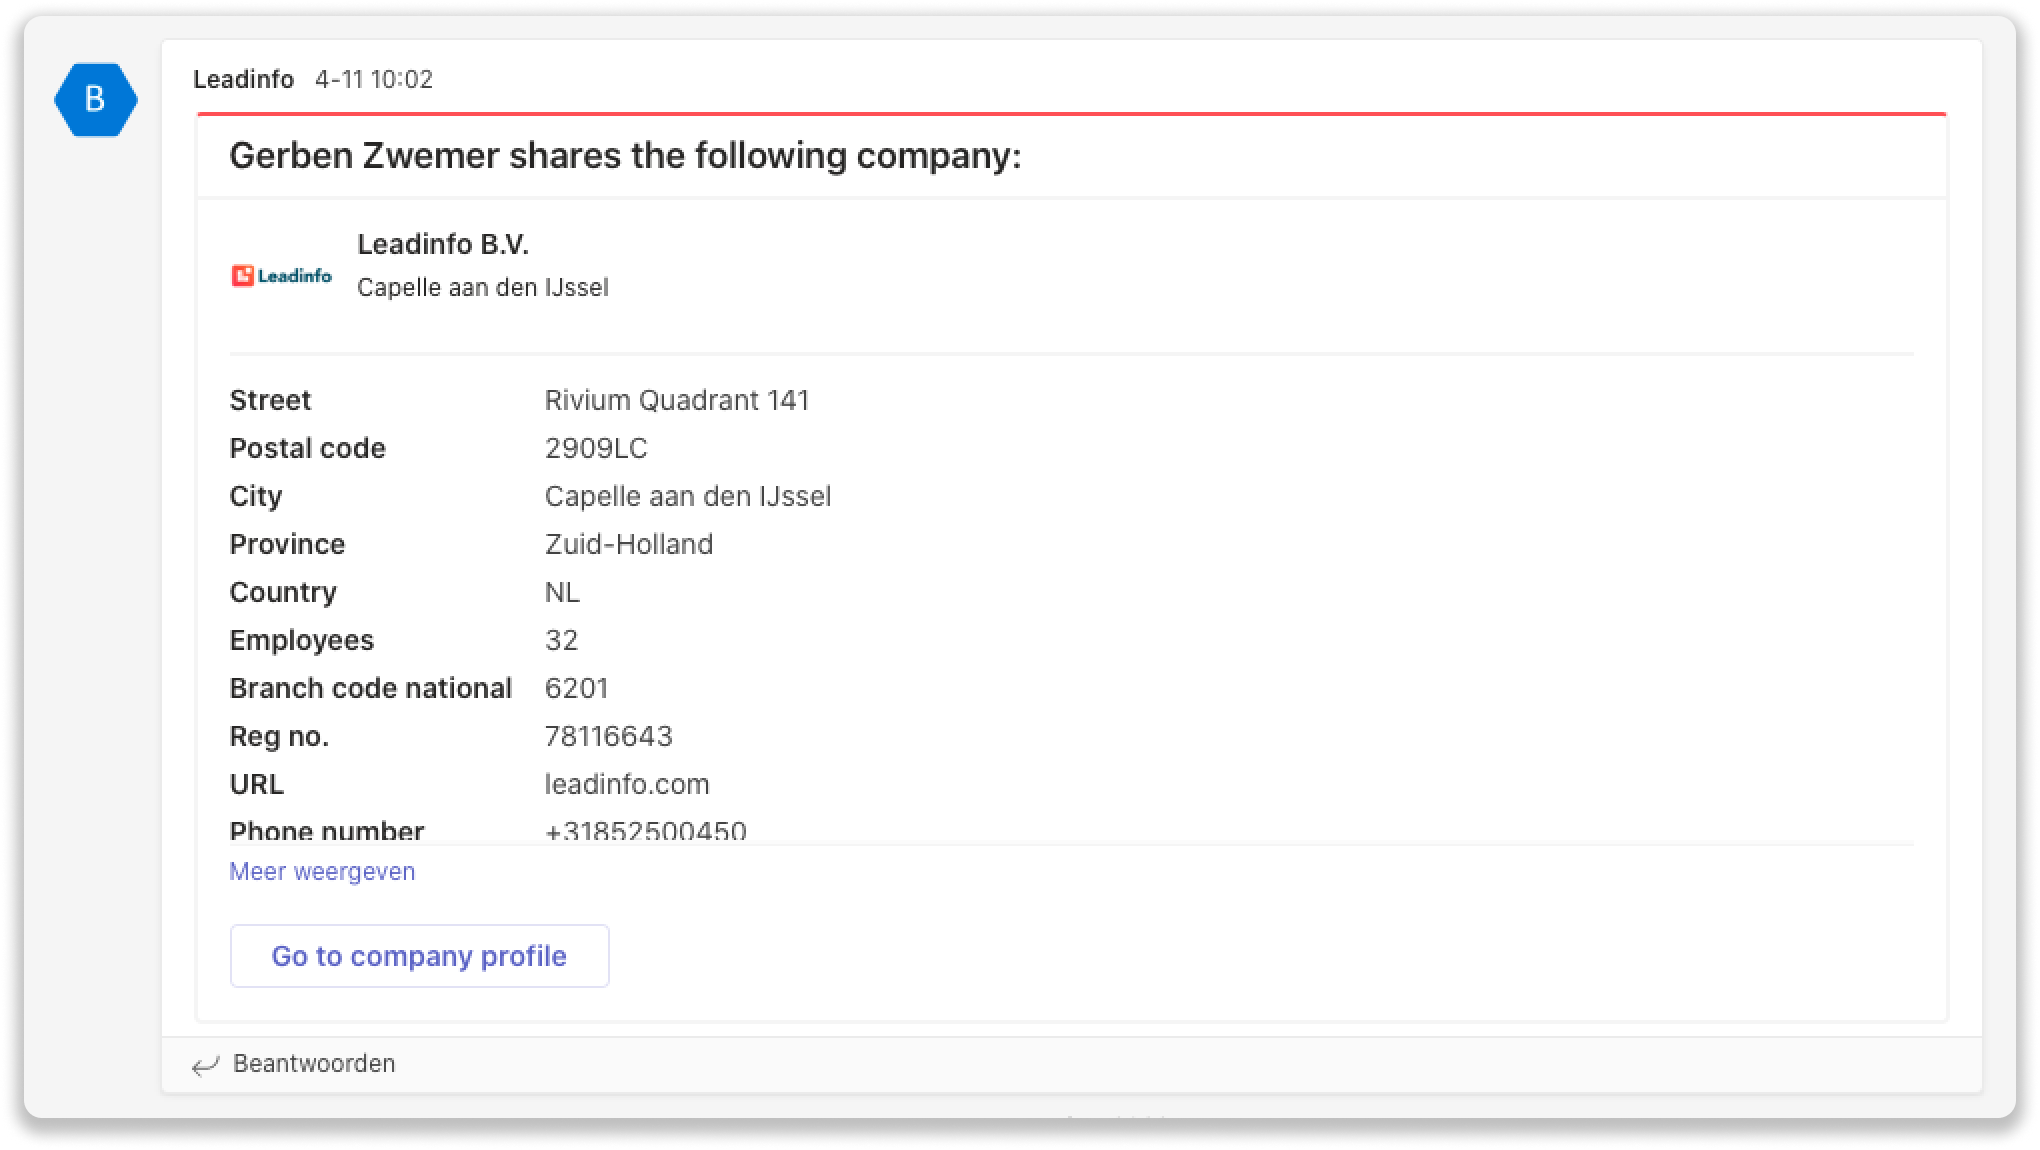
Quickly share leads from Leadinfo with your colleagues in Teams by connecting your Microsoft Teams account. Once you have connected your Teams account, you can easily share a lead with a certain channel in Teams, or send it directly in a chat. Share the lead with your colleagues so that they can immediately act on it.
In this article, we'll discuss:
- How to connect Teams to Leadinfo
- How to set up the different data you would like to share in the message
- How to share leads automatically to groups or users
- How to share leads manually to groups or users
How to connect Teams to Leadinfo
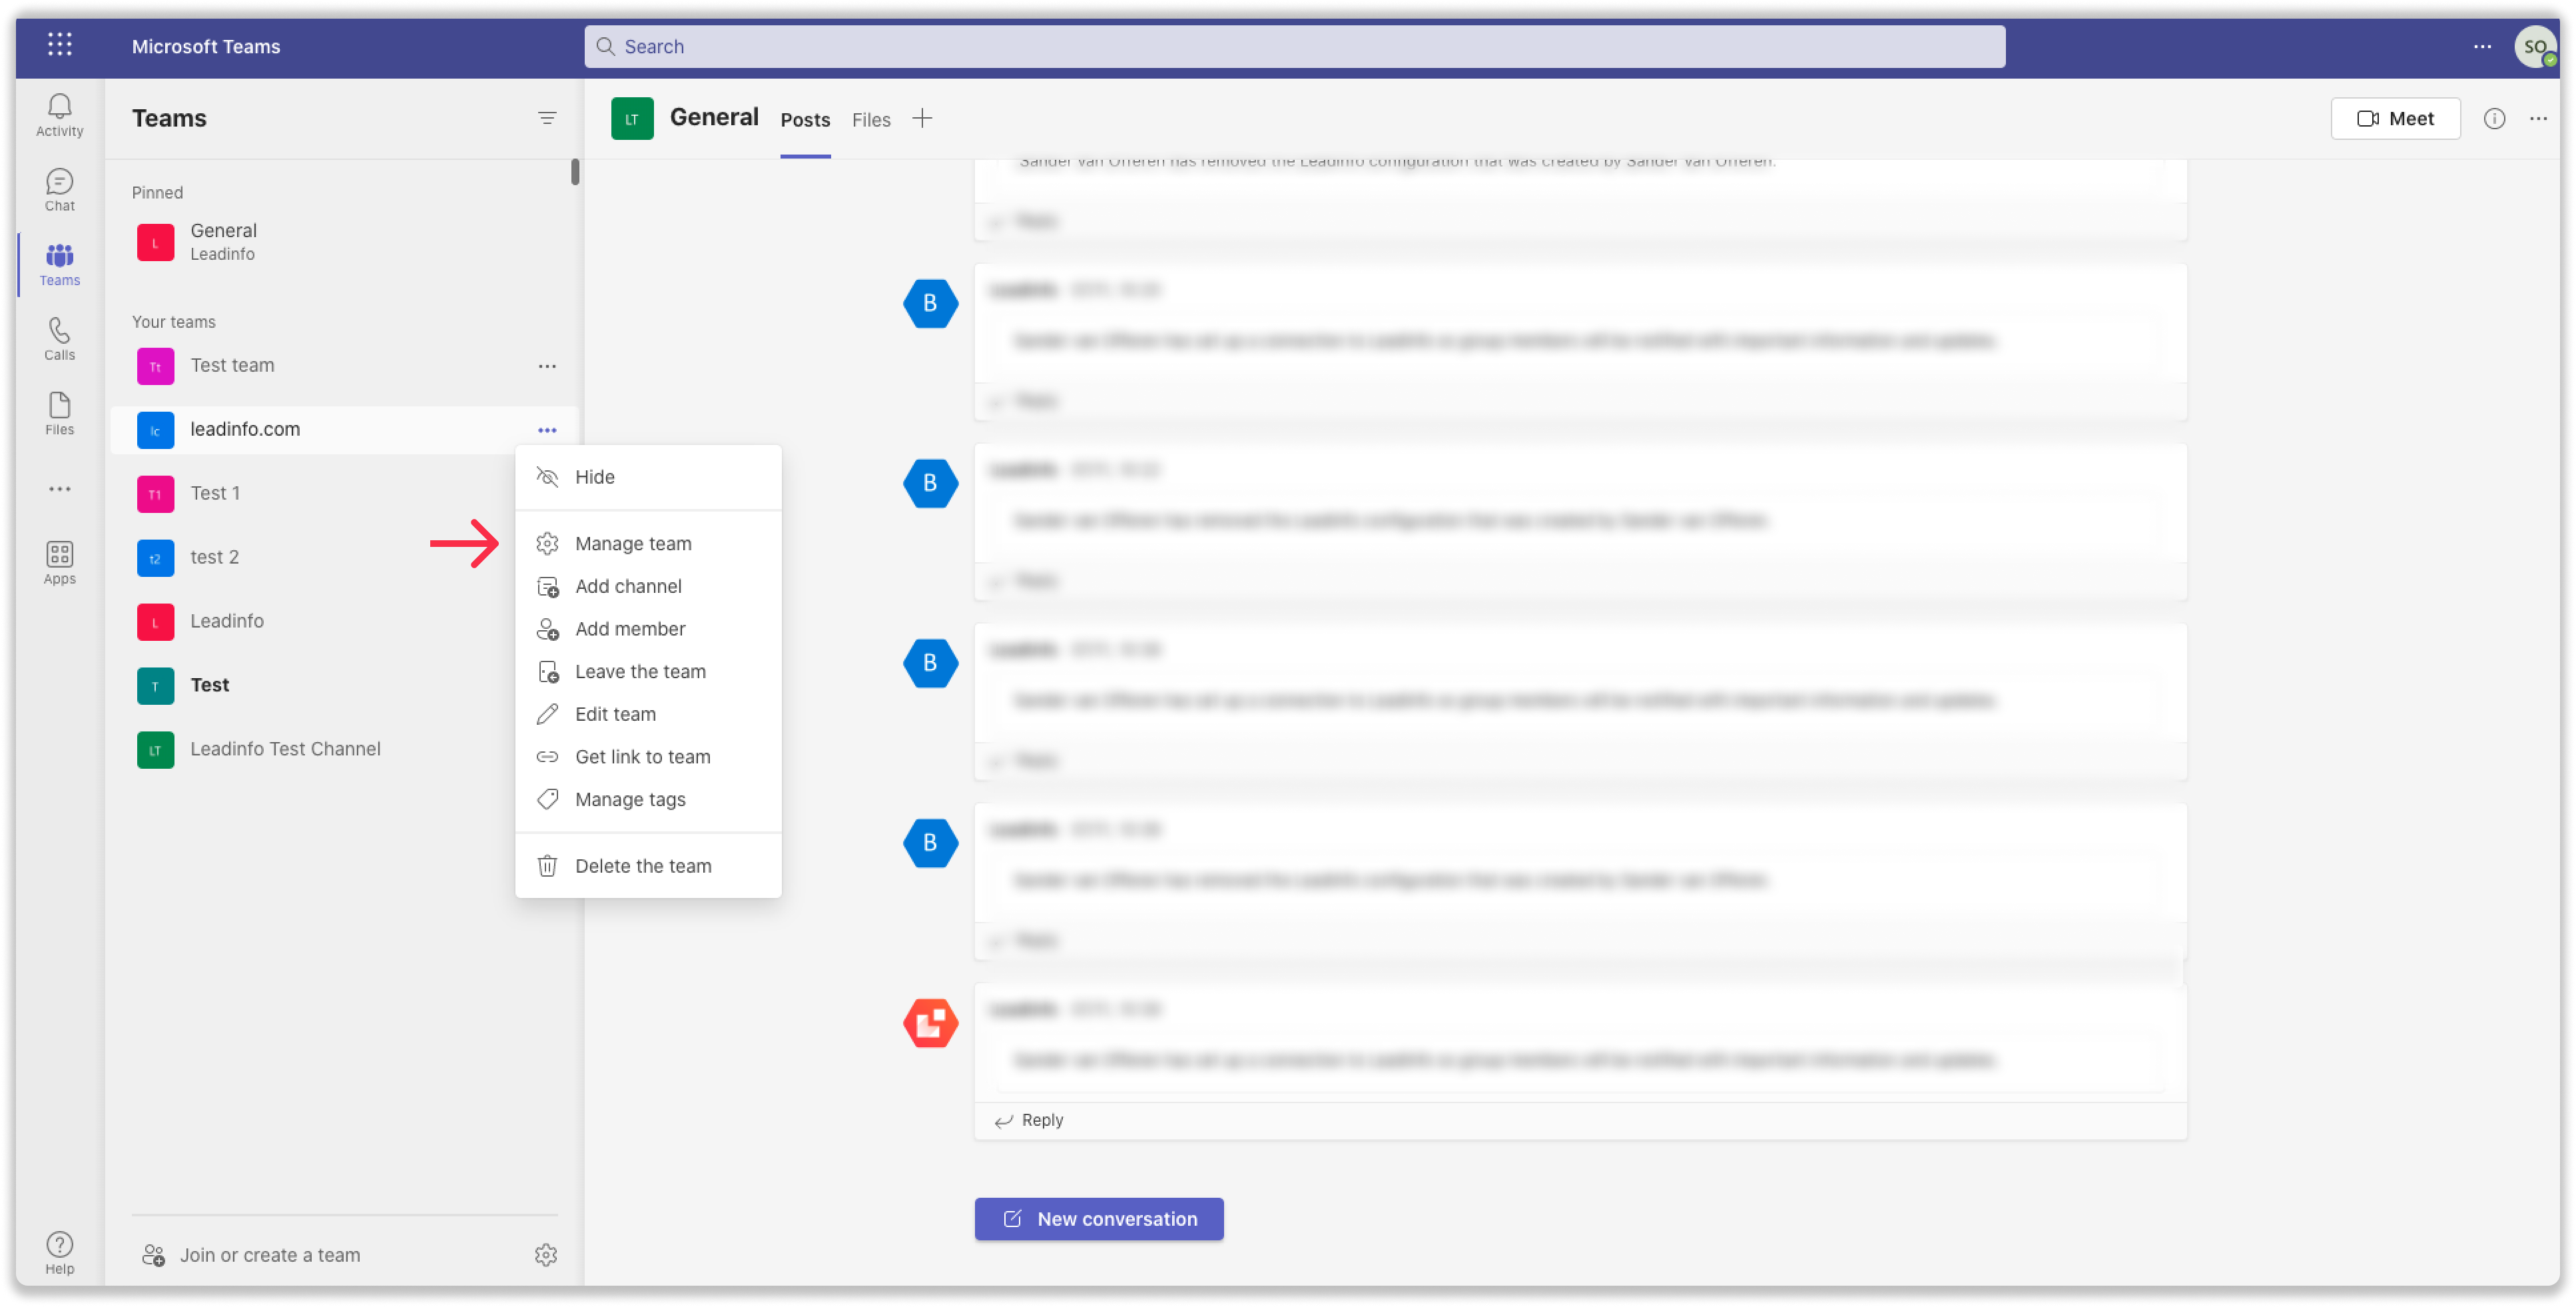
Step 1: Log in to your Microsoft Teams environment and navigate to the team that you want to integrate with Leadinfo. In the Menu, select "Manage team".
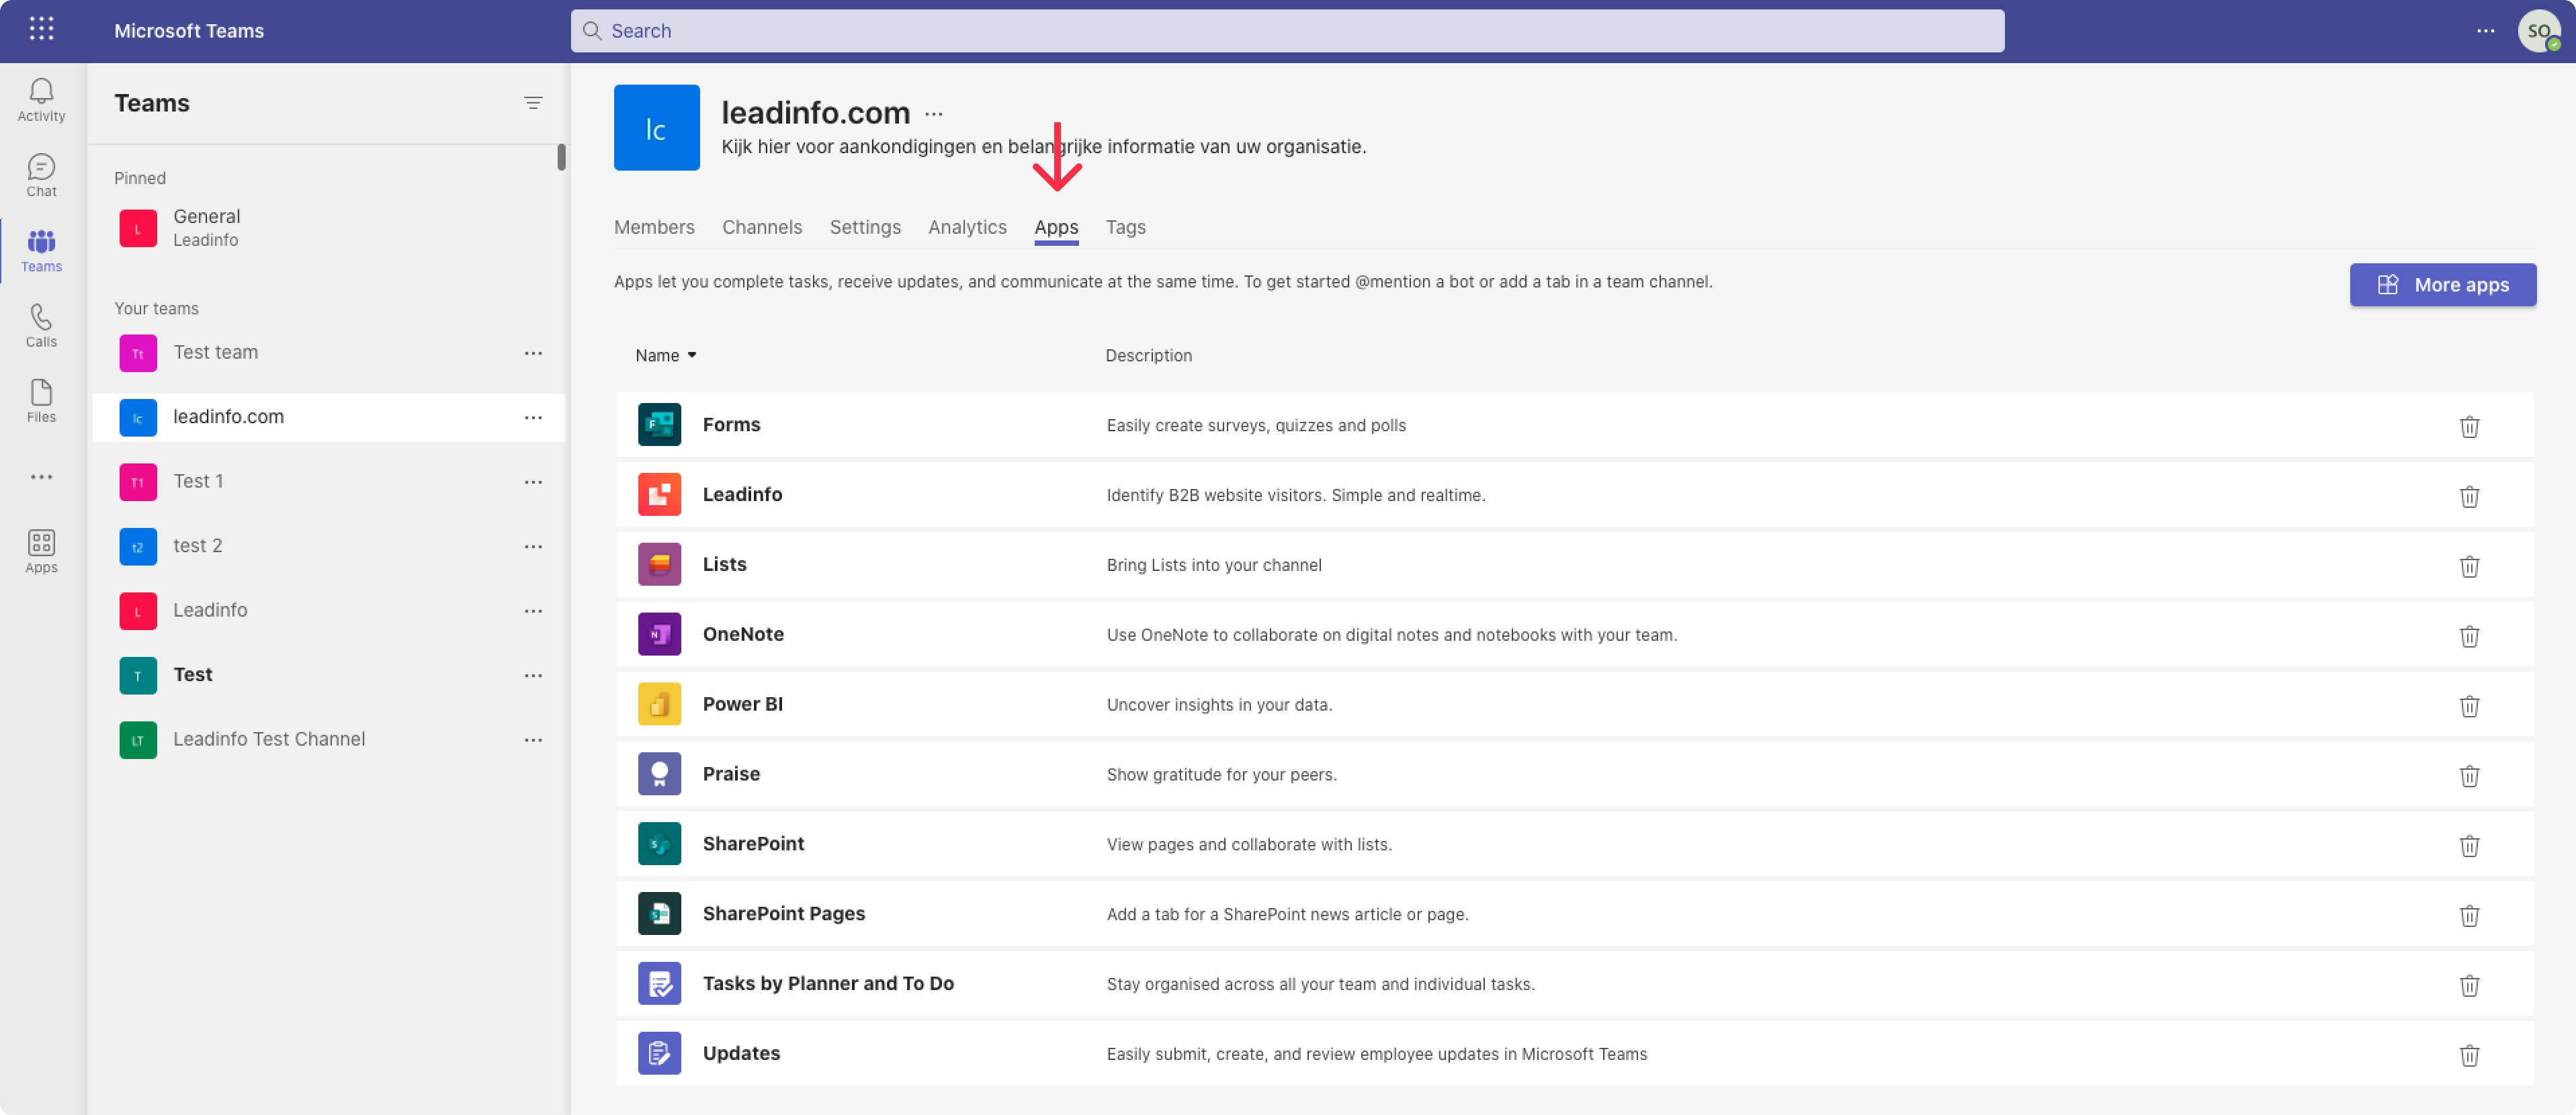
Step 2: Under Apps, search for Leadinfo. Now add Leadinfo to the team.
Step 3: Now the connector has to be added as well. Click on the button "Set up A connector" and a pop-up will appear. Log in with your Leadinfo credentials to give Microsoft Teams access to your account.
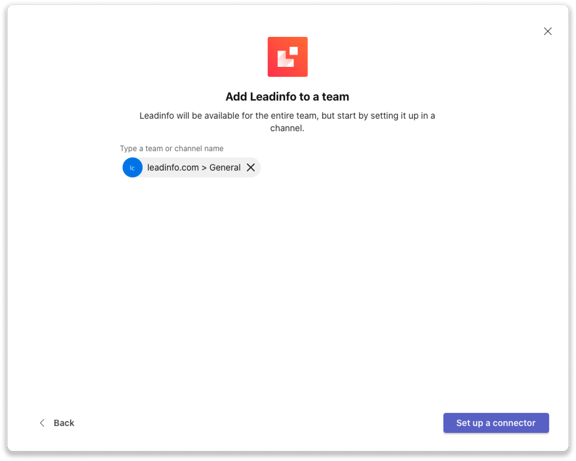
Step 4: Microsoft Teams is now connected. Navigate to "Microsoft Teams" in the settings of the in the Leadinfo portal to set up your preferences. You can decide:
- What information you would like to share in your message
- What channel or user should be the default
- What language the message should be in
To determine what information you would like to share, simply click on the button "Columns".

Now select in the pop-up what information should be included in the Teams message. This information applies to all messages send from Leadinfo to Teams.
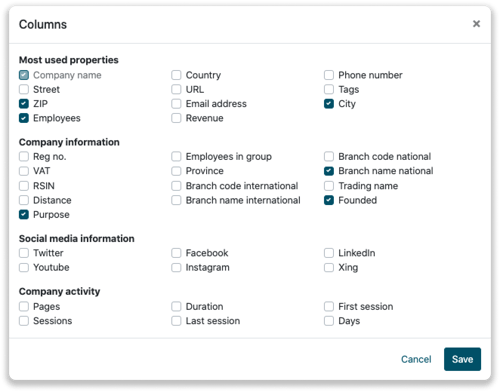
And that's it. You have successfully connected Teams to your Leadinfo account. Please note that Leadinfo will not share any data until you share messages manually or automatically to Teams.
How do I automatically share leads to channels or users?
Step 1: Think about what companies you want to send to Teams. You can use these questions to get a clear view on what companies are interesting for you.
- What company characteristics does an interesting company have?
Do you focus on specific branches or specific sizes? - What kind of behaviour do they need to show?
Think about the number of pages, or what pages an interesting company needs to visit.
Step 2: Based on the questions in step 1 you can start setting up your trigger. Navigate to “Triggers” and create a new trigger.
Step 3: Determine the rules a company needs to meet in order to be sent over to Teams. In the example below we only want to send over companies from the UK, with more than 5 employees and who have visited our pricing page.
-png.png?width=592&name=Screenshot%202021-12-02%20at%2012-02-27-png%201%20(1)-png.png)
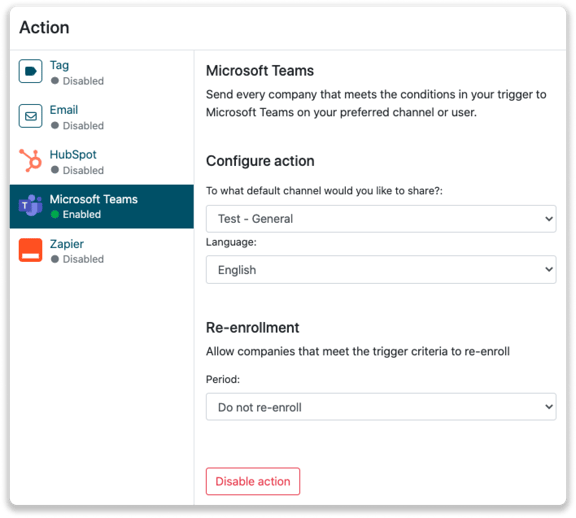
Step 4: Under “Action” select Teams and determine what you want to do:
- In what group or to which users you want to send the message to
- In what language you want to send the message
- How often you'd like to send the message per unique company
Step 5: Make sure you save the trigger by switching the toggle in the top right corner and click “Save”.
How do I manually share leads to channels or users in Teams?
Step 1: First go to the company profile you want to share on Teams.
Step 2: Click on the button "Share on Microsoft Teams" in the top right corner. It will now share the company to your default group you have set up.

Step 3: Click on the dropdown to select a different channel or user to send the message to.

Step 4: Once you've sent over the company you will find the message in the group or the user will find the message in Teams under "Chat".
