You can link Leadinfo with Act!, so your website visits are automatically synchronized. In Act!, a note then is added to the company. You will have insight into the website visits of your contacts there. In addition, you have the option in the Leadinfo portal to link the company profile of a website visitor in Act! to an existing company, or a new company.
In this article we'll discuss:
- Why you should connect Act! to Leadinfo
- How to set up the integration
- How to automatically send leads to Act!
- How to manually send leads to Act!
- How to create tasks in Act!
Why Connect Act! to Leadinfo
Before you set up the integration, let's dive deeper into what the benefits of connecting Act! to Leadinfo. First and foremost, with the integration you can:
🔗 Link website visitors to existing companies within Act!
🆕 Send a website visitor of as a new company within Act!
💻 View the visited pages of said company within Act!
✅ Set up tasks for yourself or for colleagues within Act!
This allows you to integrate the information from Leadinfo into your current sales flow.
Good to know 📝 When you connect a company Leadinfo sends the most recent visit to Act! Future visits are always shared.
Set up the Act! integration
Step 1: Log in to the Leadinfo portal and go to settings.
Step 2: Under integrations, select "Act!".

Step 3: Enter your API domain, username, password, and database and click on "Connect to Act!". You can find the API domain by navigating to your API documentation page. The domain refers to the url, up and until "-Api".
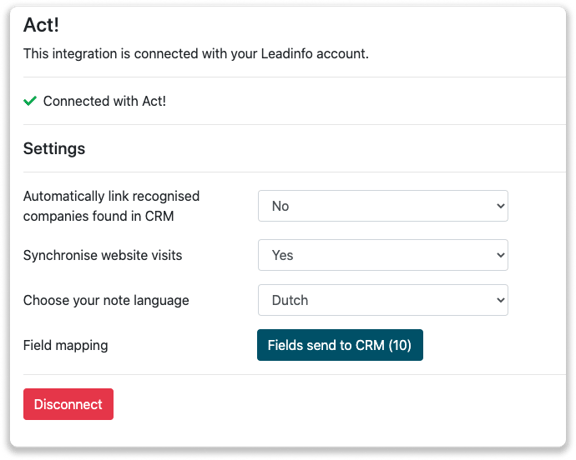
Step 4: Once you've linked Act! to Leadinfo you can change the settings of the integration. Determine;
- If you want to automatically link your website visitors to companies in your CRM
- If you want to send over the website visits to your CRM as a note in the company profile
- In what language the notes need to be placed in
- What fields you want to send to Act!. Click here to learn more on how to set up these fields.
How do I automatically send/connect leads to Act!
We will only send data to Act! when you have connected a company. You can either connect a company manually or automatically. Follow the below steps to automatically send leads to Act!.
Step 1: Think about what companies you want to send to Act!. You can use these questions to get a clear view on what companies are interesting for you.
- What company characteristics does an interesting company have?
Do you focus on specific branches or specific sizes? - What kind of behaviour do they need to show?
Think about the number of pages, or what pages an interesting company needs to visit.
Step 2: Based on the questions in step 1 you can start setting up your trigger. Navigate to “Triggers” and create a new trigger.
Step 3: Determine the rules a company needs to meet in order to be sent over toy our CRM. In the example below we only want to send over companies from the UK, with more than 5 employees and who have visited our pricing page.
-png.png?width=592&name=Screenshot%202021-12-02%20at%2012-02-27-png%201%20(1)-png.png)
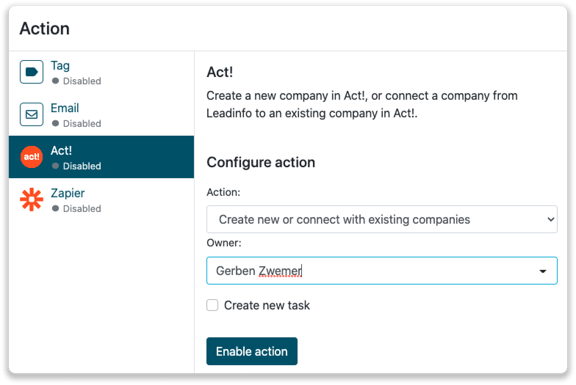
Step 4: Under "Action" select the CRM system you've installed in step 1 and determine what you want to do:
- Create new companies - Leadinfo will immediately create a new company within your CRM system.
- Connect with existing companies - Leadinfo will only connect the website visitors to an existing company within your CRM
- Create new or connect with existing companies - Leadinfo will either create a new company or, if the company already exists, connect the company to the existing company within your CRM.
Good to know 📝: Leadinfo will check on several data point if a company already exists in your CRM. Data points such as domain, phone number, chamber of commerce number etc.
Step 5: Select who should be the company owner within your CRM system and enable the action.
Step 6: Make sure you save the trigger by switching the toggle in the top right corner and click “Save”.
For example, say we want to create a new company when it is a new lead or connect the company to an existing company within your CRM. By doing so, the future website visits will be shared as. note within your CRM system.
How do I Manually connect leads from Leadinfo to Act!?
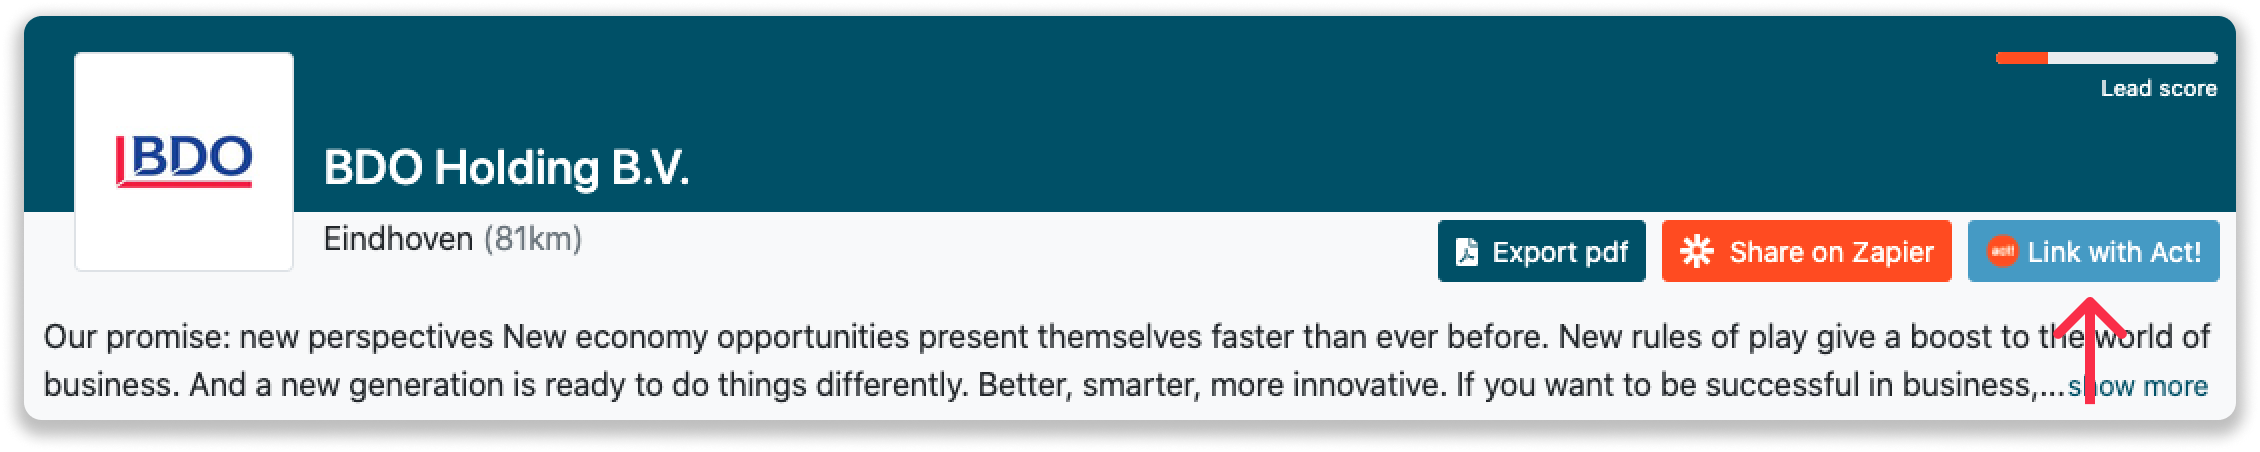
Step 1: First go to the company profile you want to connect.
Step 2: Click on the button "Link to Act!" in the right corner.
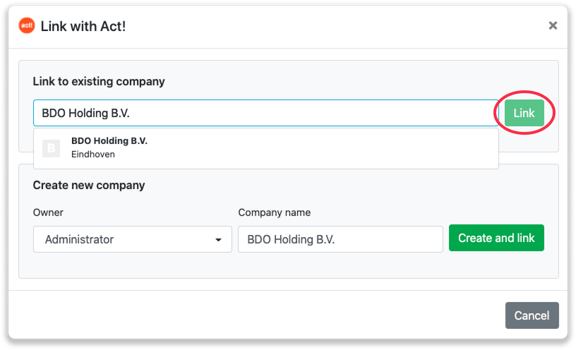
Step 3: Connect the company to Act!. You can do this in two ways:
Step 3a: Does the company already have a profile in Act!? Search for the company you would like to connect it to and click on "Connect".
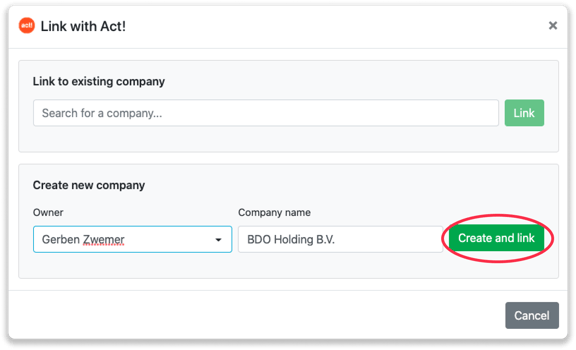
Step 3b: Do you want to create a new company in Act!? Select the correct account owner, give the company a name (prefilled) and click on "Create and link".
Step 4: You will immediately find the company in Act!. You can find this under "Companies"

How to create tasks from Leadinfo
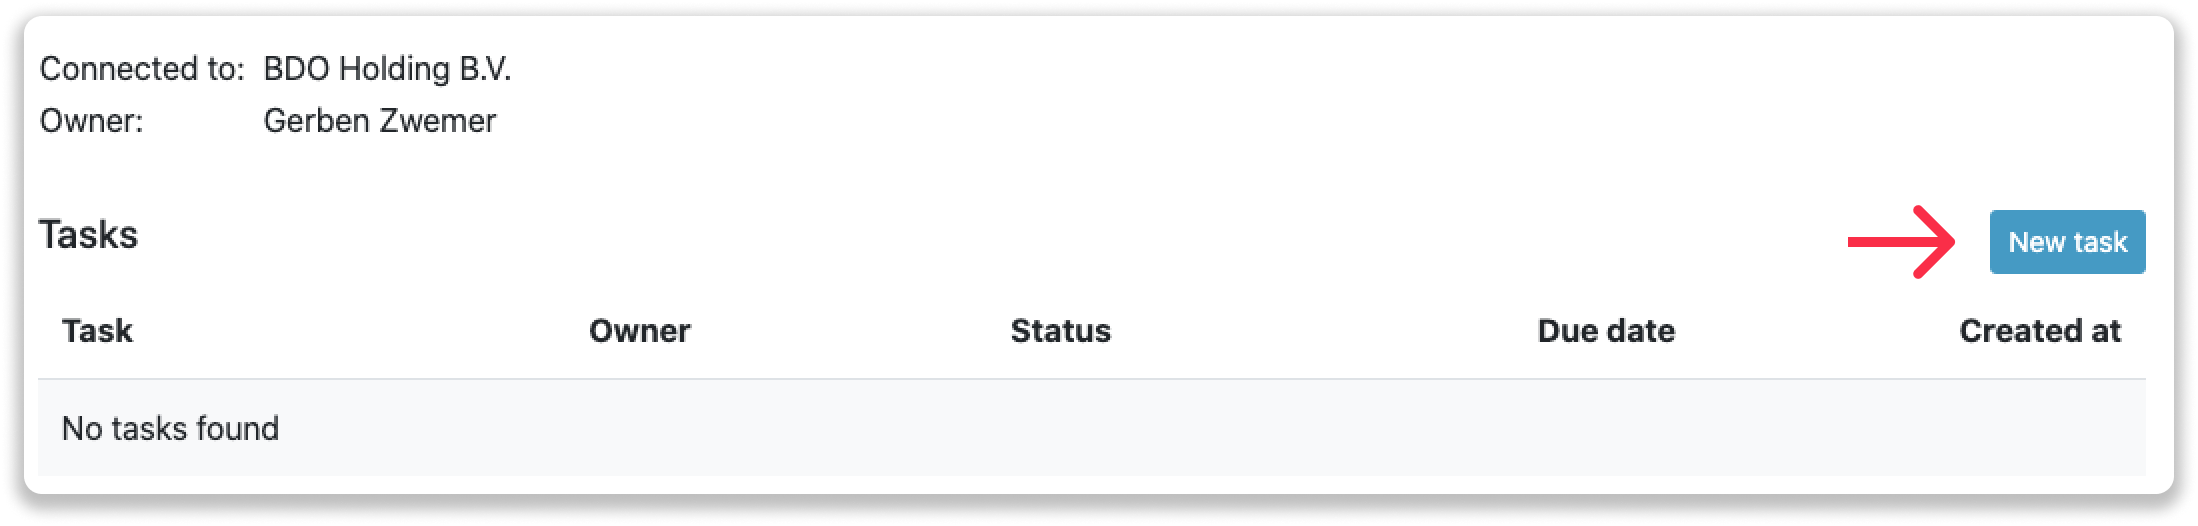
Once you connect a company within Leadinfo to a company within Act!, you will find the associated tasks of that company. Stay up to date on the current tasks of your website visitor or create new ones straight from your Leadinfo inbox.
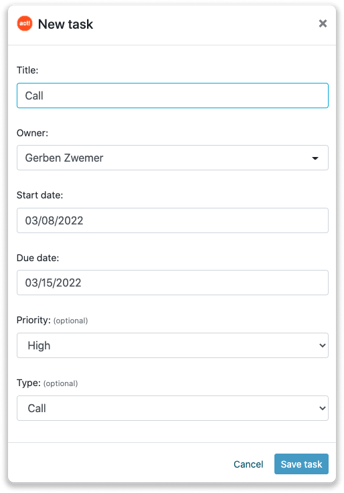
Creating a new task
Click on "New task" in the top right corner.
Fill out the needed details in the pop-up, and click on "Save task". A new task will be created within your Act! environment.